Autocare

After Window Tint Care Tips: What to Do (and Avoid) for Long-Lasting Results

After Window Tint Care Tips for Long-Lasting Window Tint Results

Getting your car windows tinted is a smart investment that improves comfort, privacy, UV protection, and overall appearance. But what many drivers don’t realize is that the real key to long-lasting results lies in after window tint care. Even the highest-quality tint film can fail prematurely if it isn’t maintained properly after installation. Bubbling, peeling edges, fading, and streaking are often the result of poor aftercare, not bad tint.

Whether you’ve just had your windows tinted or you’re planning to soon, understanding the right care steps can make the difference between tint that lasts a few months and tint that looks flawless for over a decade. 

This guide covers exactly what to do, what to avoid, and how to protect your investment for the long run.

Why After Window Tint Care Matters

Window tinting involves applying a thin, adhesive-backed film directly to your vehicle’s glass. Once installed, the tint doesn’t instantly bond to the window. Instead, it goes through a curing process, during which trapped moisture slowly evaporates, and the adhesive fully sets.

During this curing phase, and even long after, your tint is vulnerable to damage if it’s handled incorrectly. Ignoring proper after window tint care can lead to:

  • Bubbling or moisture pockets that never disappear

  • Peeling or lifting edges

  • Fading or discoloration

  • Reduced UV and heat rejection

  • Voided warranties

  • Costly repairs or full reinstallation

On the other hand, well-maintained tint can last 10–15 years, retain its heat- and UV-blocking properties, and keep your vehicle looking sleek and comfortable. Proper care also ensures clear visibility, prevents haze or distortion, and protects your car’s interior from sun damage.

Understanding the Tint Curing Process

Close-up of a car side window with applied tint—visual aid for “how much tint do I need for my car,” showing opacity and sun-blocking effect. If you’ve got more images or want to add context like climate impact or tint tool usage, I’m totally game to help enhance them!

One of the most important aspects of after window tint care is understanding how tint cures.

When tint is first installed, moisture gets trapped between the film and the glass. This can create a cloudy appearance or small bubbles, which is completely normal. Over several days, the moisture evaporates, allowing the adhesive to bond securely to the glass.

Typical Curing Time

  • Standard tint films: 2–4 days

  • Ceramic or carbon films: Up to 7 days

Weather plays a big role. Warm, dry conditions speed up curing, while cold or humid environments can slow it down. Even if the tint looks dry to the touch, it may still be curing underneath the surface.

Disturbing the tint during this phase is one of the most common causes of long-term problems.

What to Do: Best Practices for After Window Tint Care

Wait Before Rolling Down Your Windows

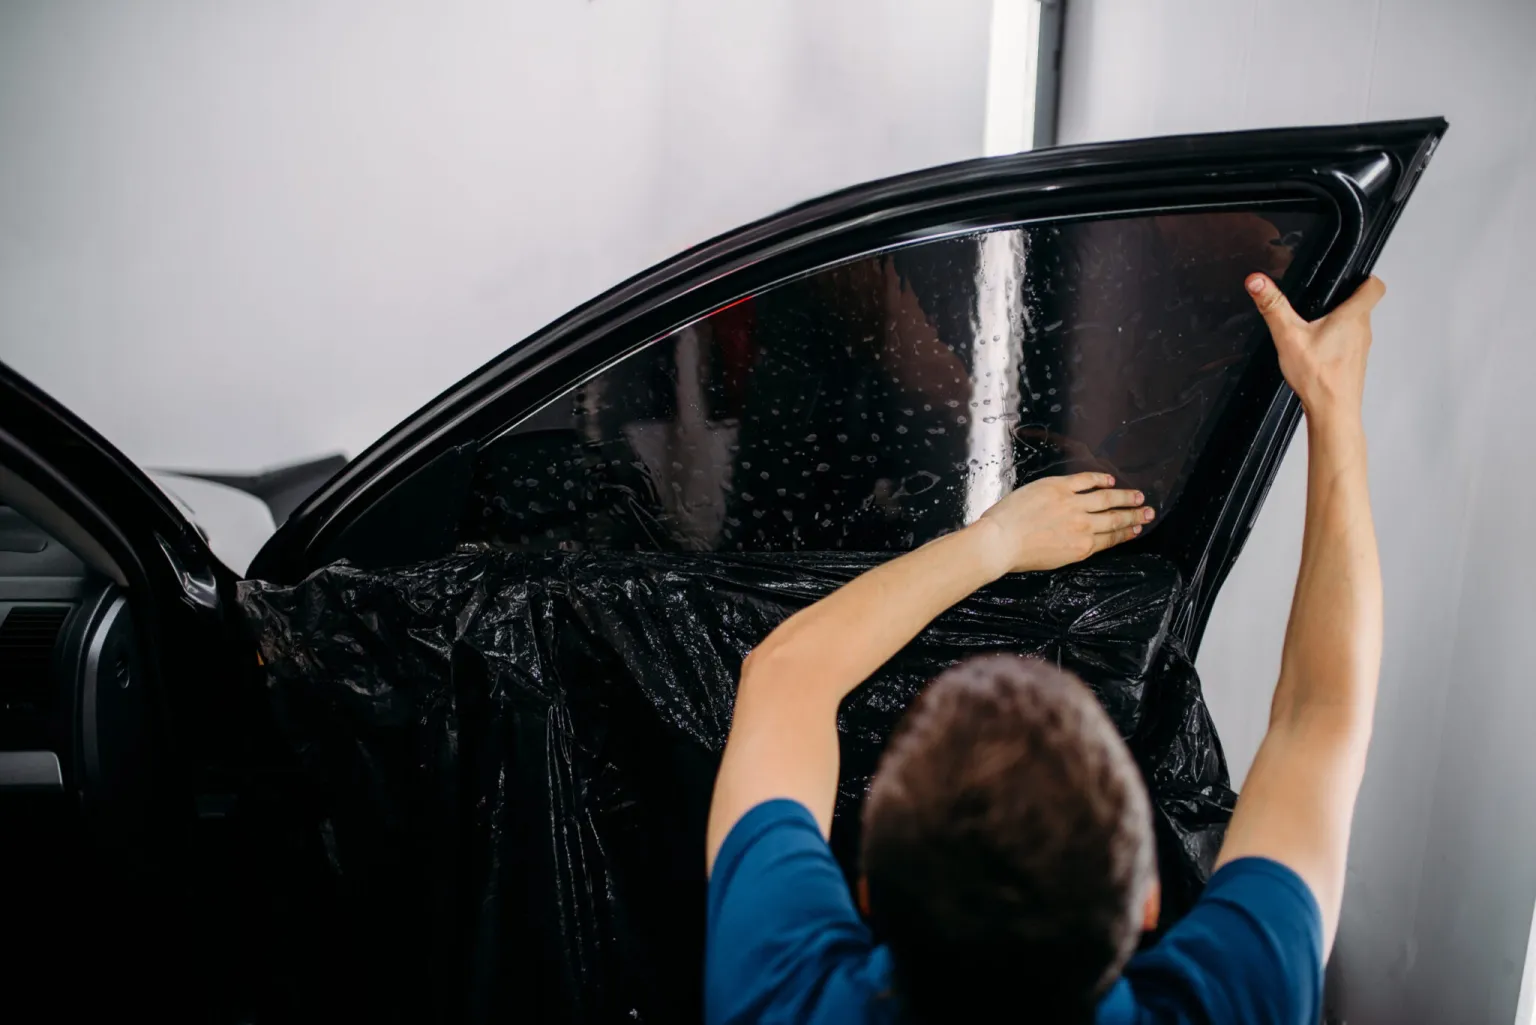
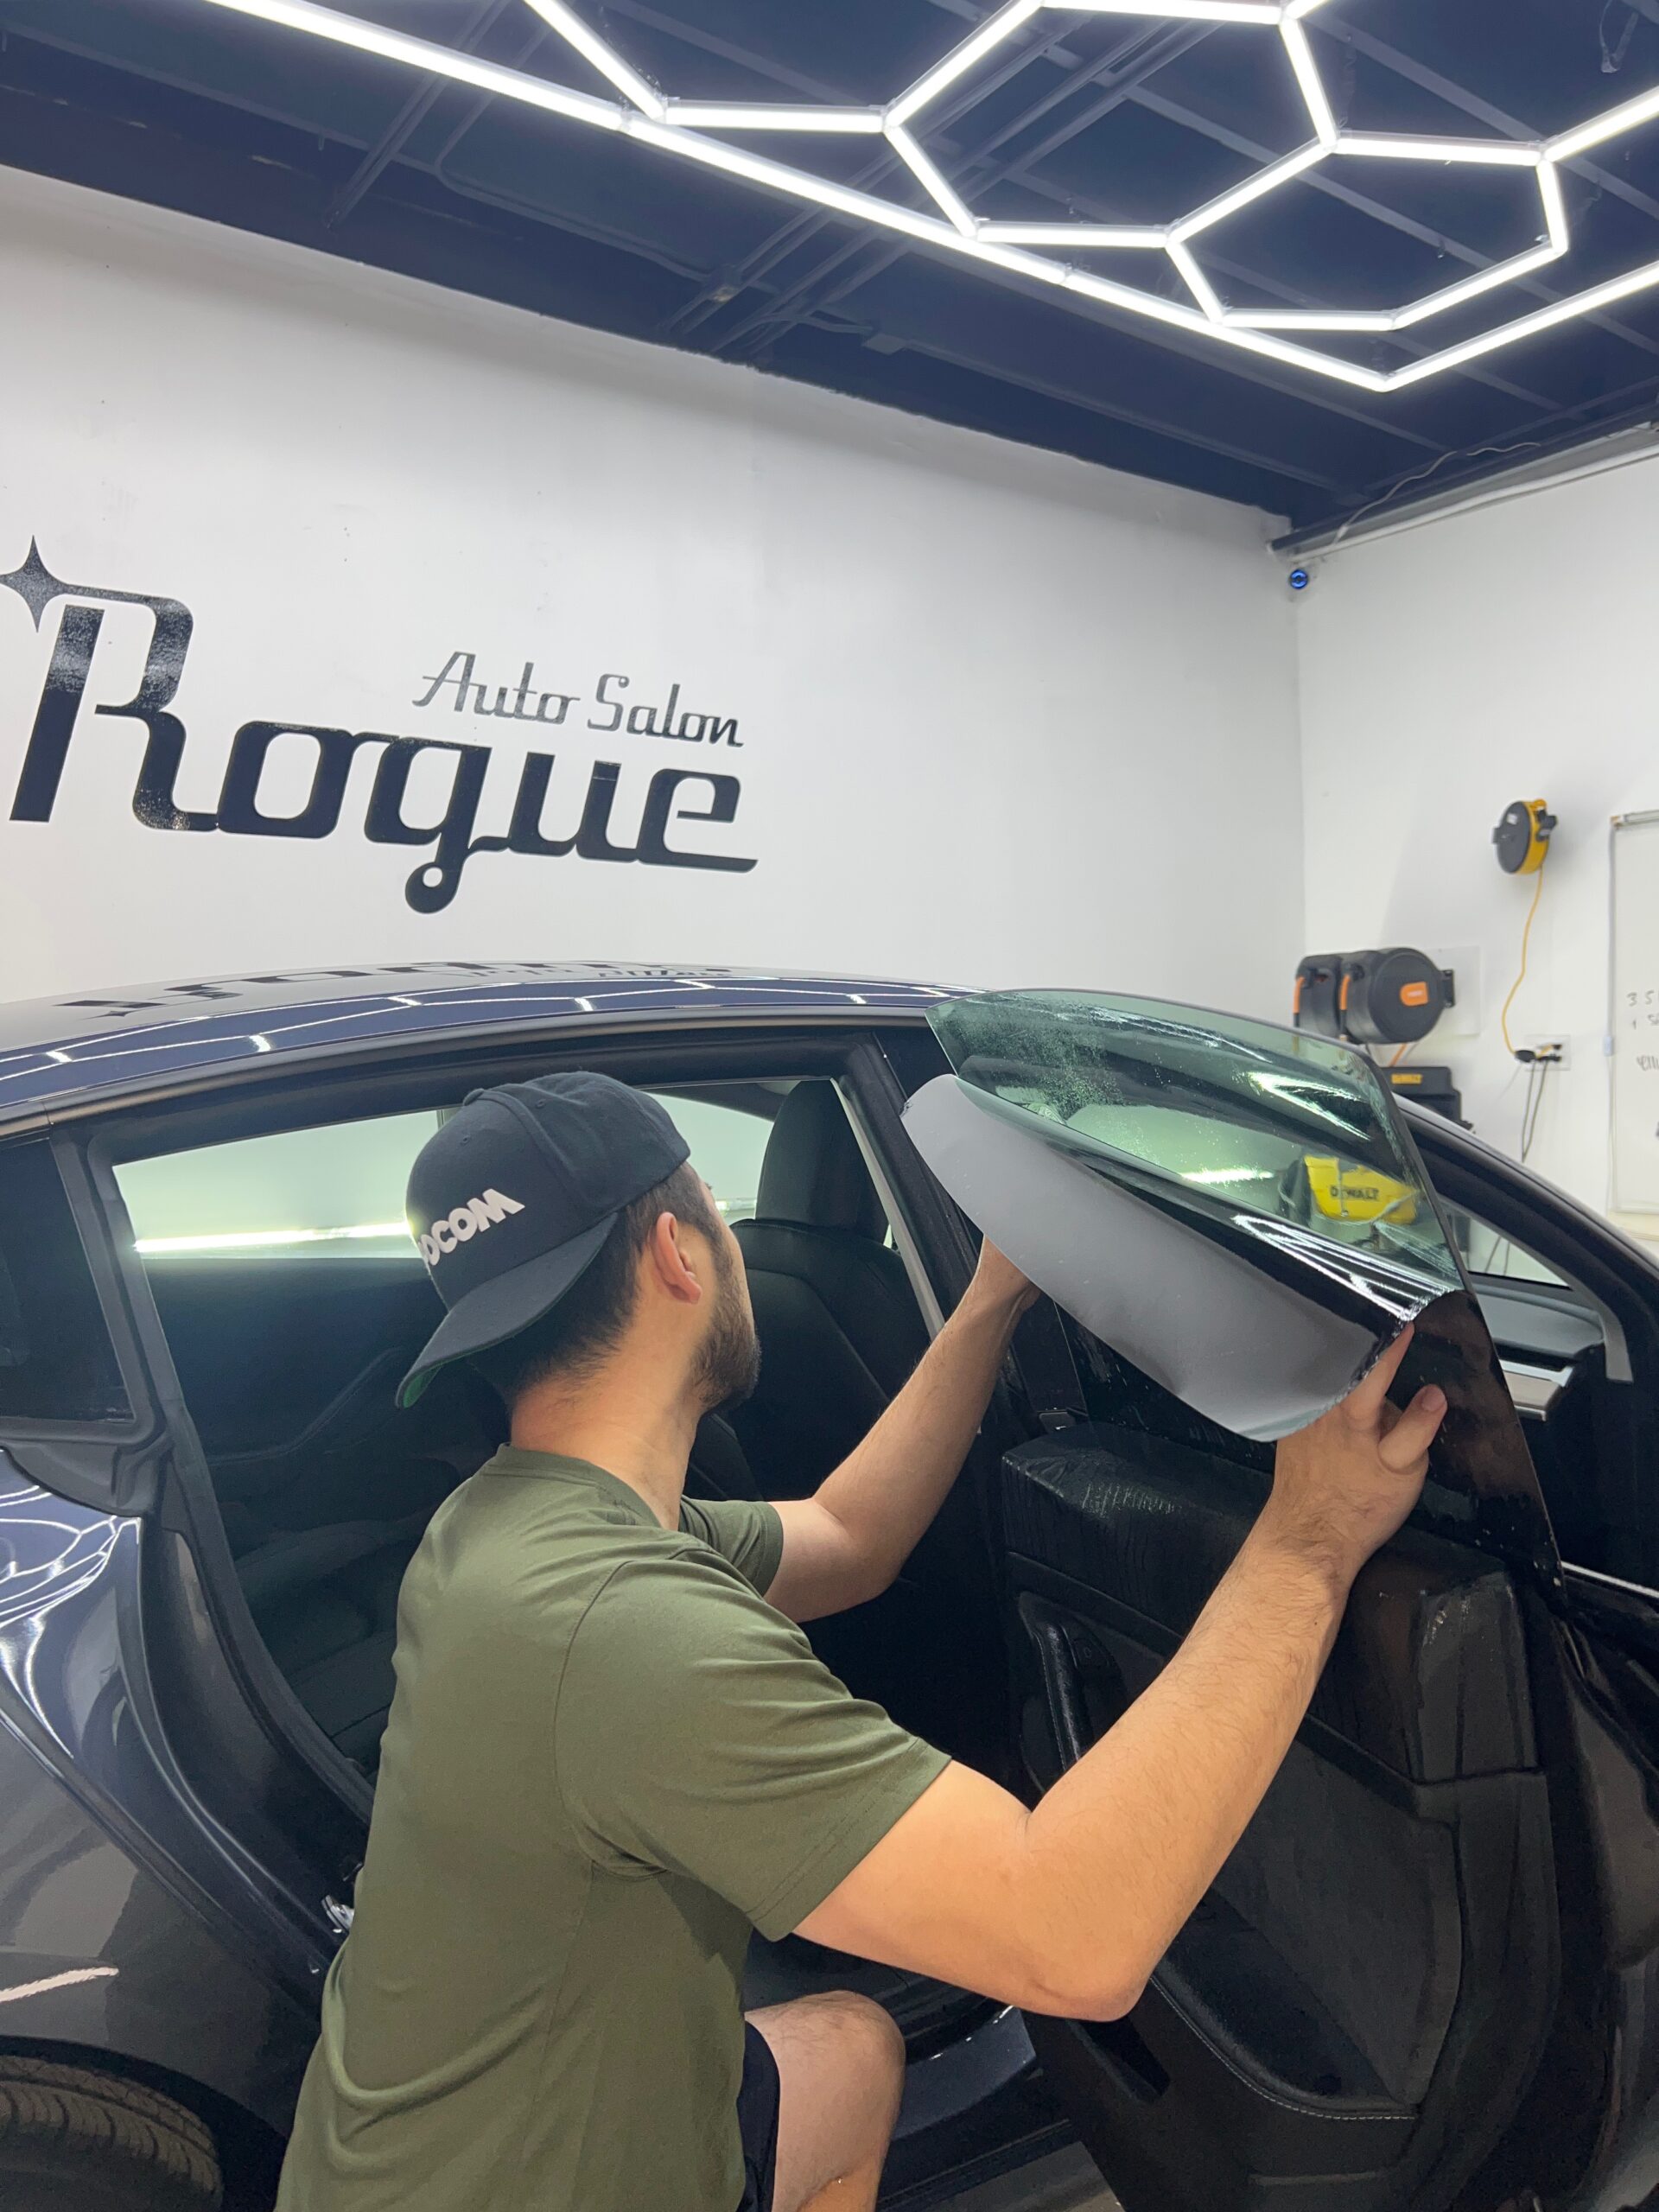
This is the golden rule of after window tint care. Rolling down your windows too soon can cause the film to shift, wrinkle, or peel away from the edges. Once this happens, the damage is often permanent.

To protect your tint:

  • Keep windows rolled up for 2–7 days, depending on the film and climate

  • Follow your installer’s specific recommendations

  • Use air conditioning or crack a door slightly for ventilation instead

Patience during this short waiting period ensures the tint bonds correctly and lasts much longer.

Clean Tinted Windows the Right Way

Cleaning your tinted windows is essential, but only if you do it properly. The wrong products or tools can damage the film, weaken the adhesive, and cause fading over time.

Safe cleaning tips:

  • Use ammonia-free glass cleaners or mild soap and water

  • Clean with a soft microfiber cloth or non-abrasive sponge

  • Spray cleaner onto the cloth, not directly onto the glass

  • Wipe gently using circular motions

  • Dry with a lint-free towel to avoid streaks

Avoid paper towels, scouring pads, razor blades, or harsh chemicals. These can scratch the film or break down the adhesive, reducing both appearance and performance.

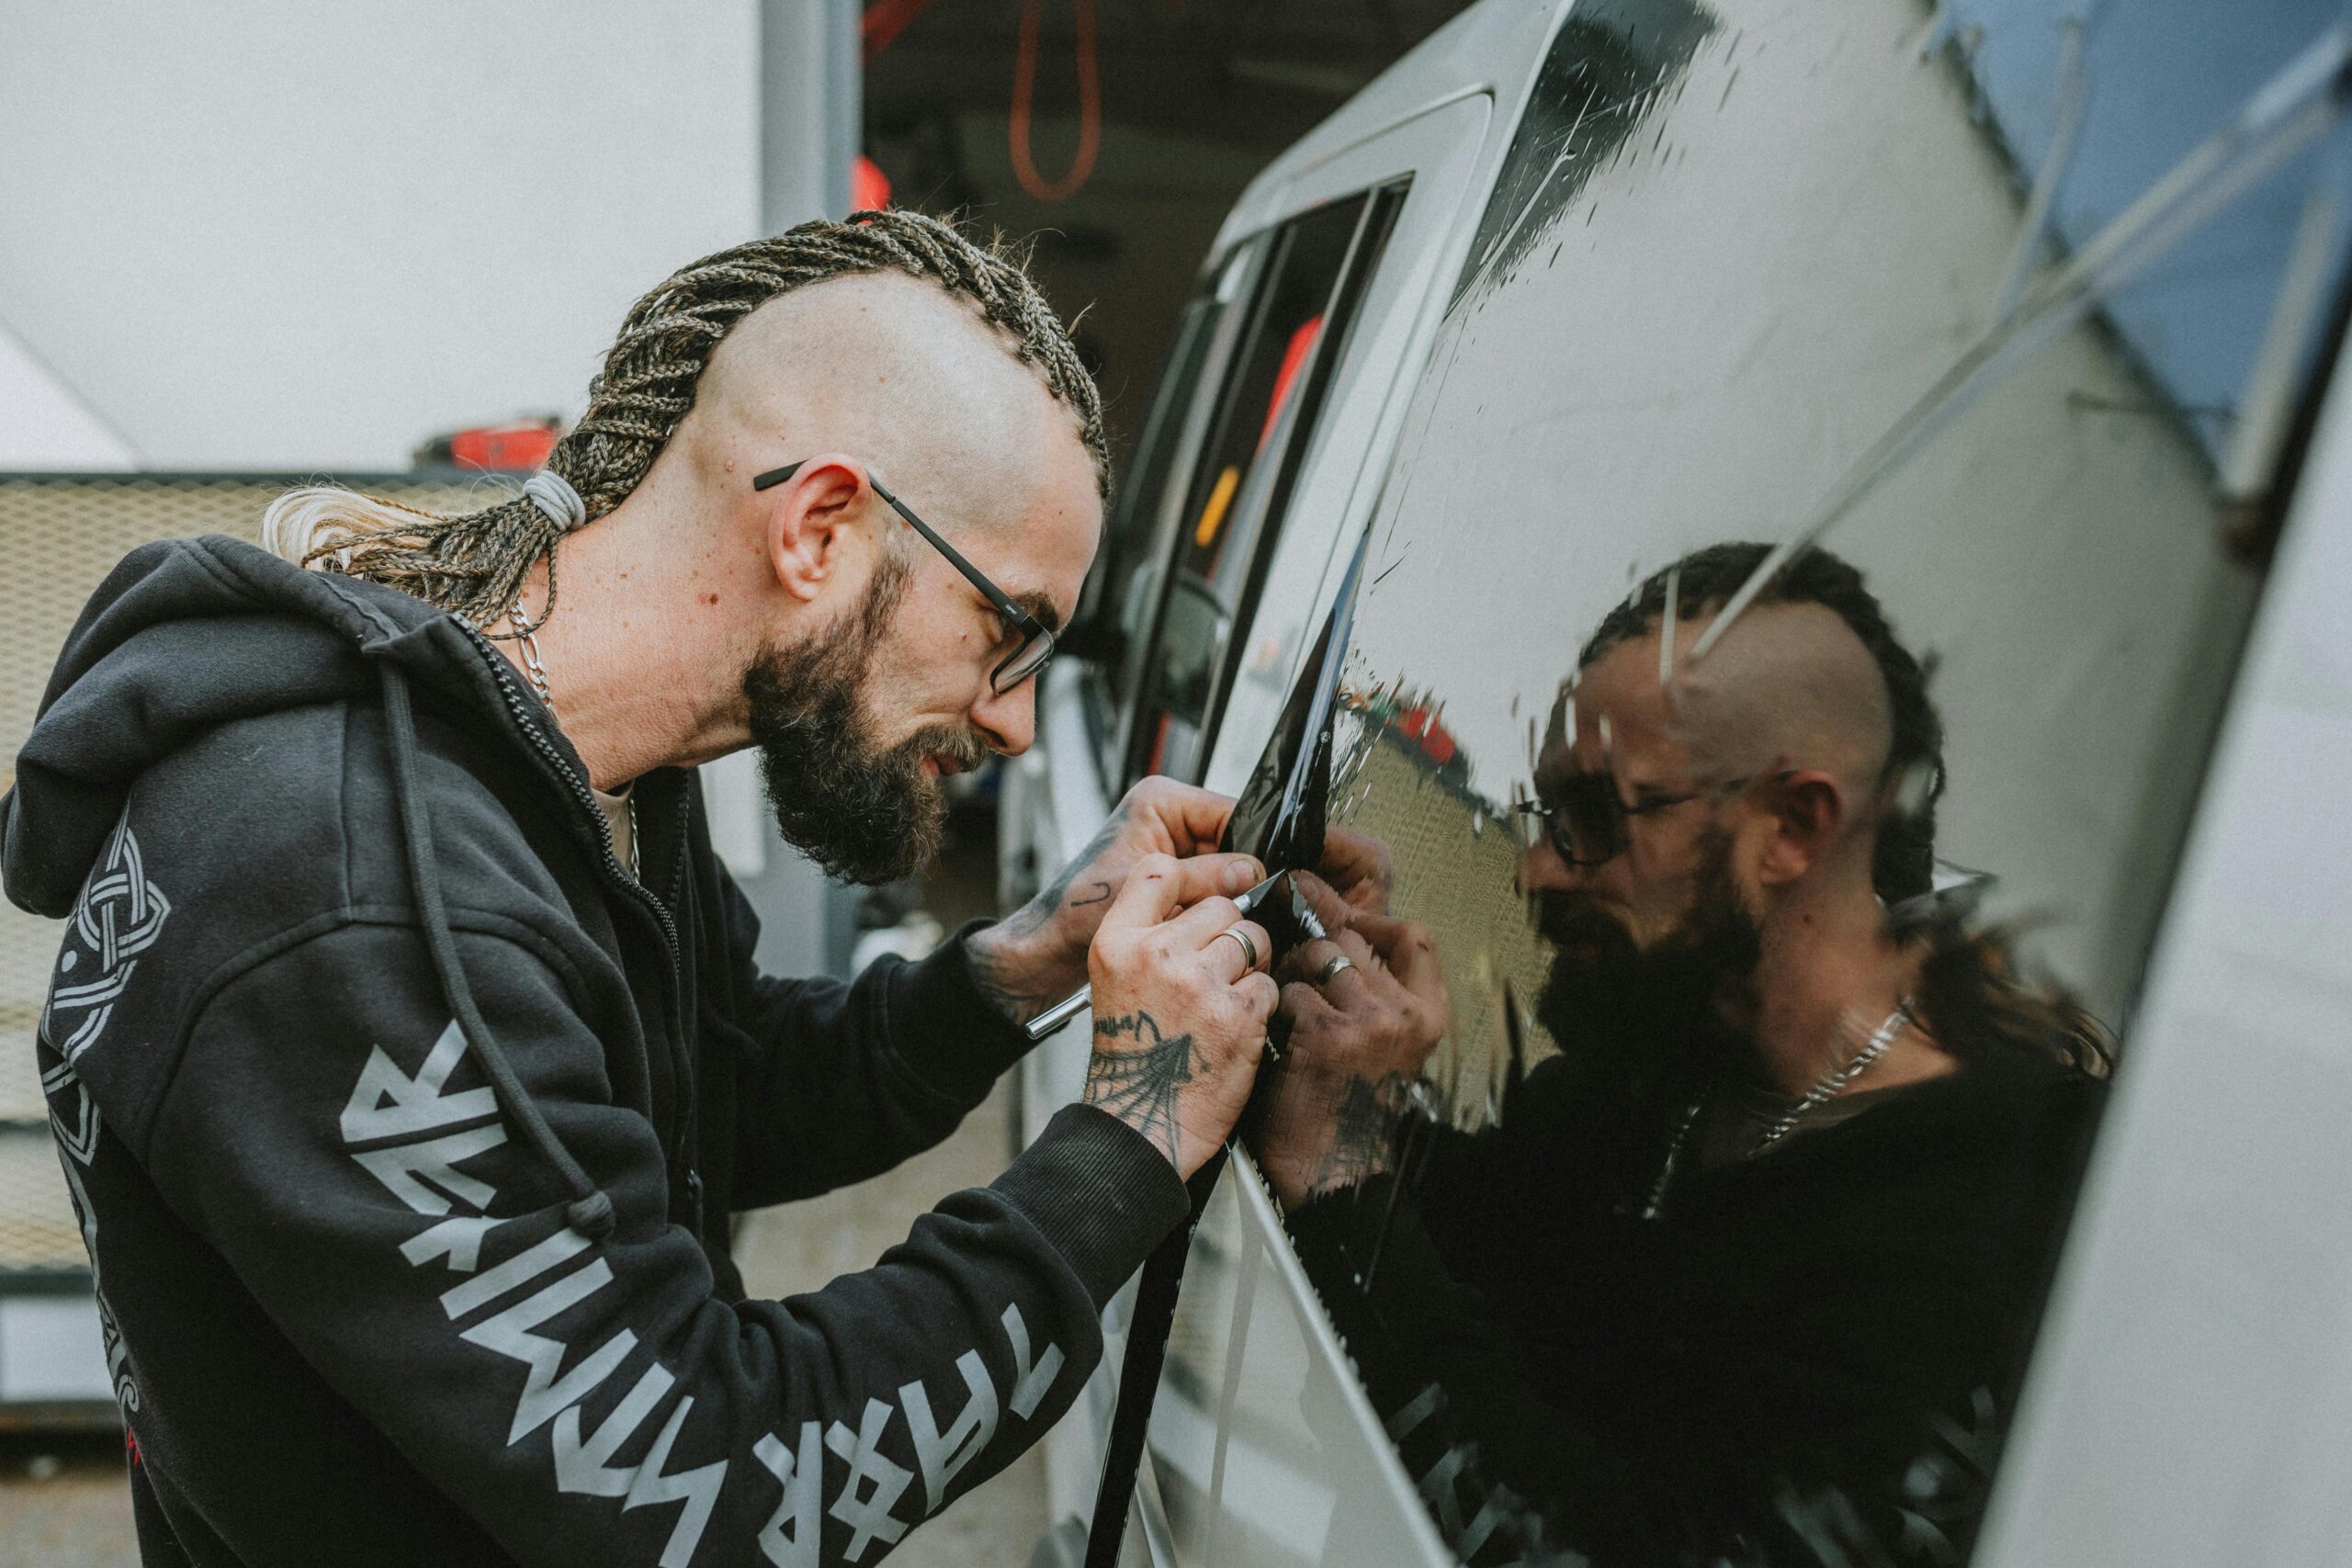
Follow Your Installer’s Aftercare Instructions

Every tint film is different, and premium options like ceramic or crystalline tint may have specific care requirements. Your installer’s guidelines are not optional; they’re essential.

Ignoring these instructions can:

  • Shorten the lifespan of your tint

  • Reduce performance

  • Void your warranty

Some installers recommend avoiding rear defrosters, strong cleaners, or aggressive washing for the first few weeks. Think of these instructions as the owner’s manual for your window tint.

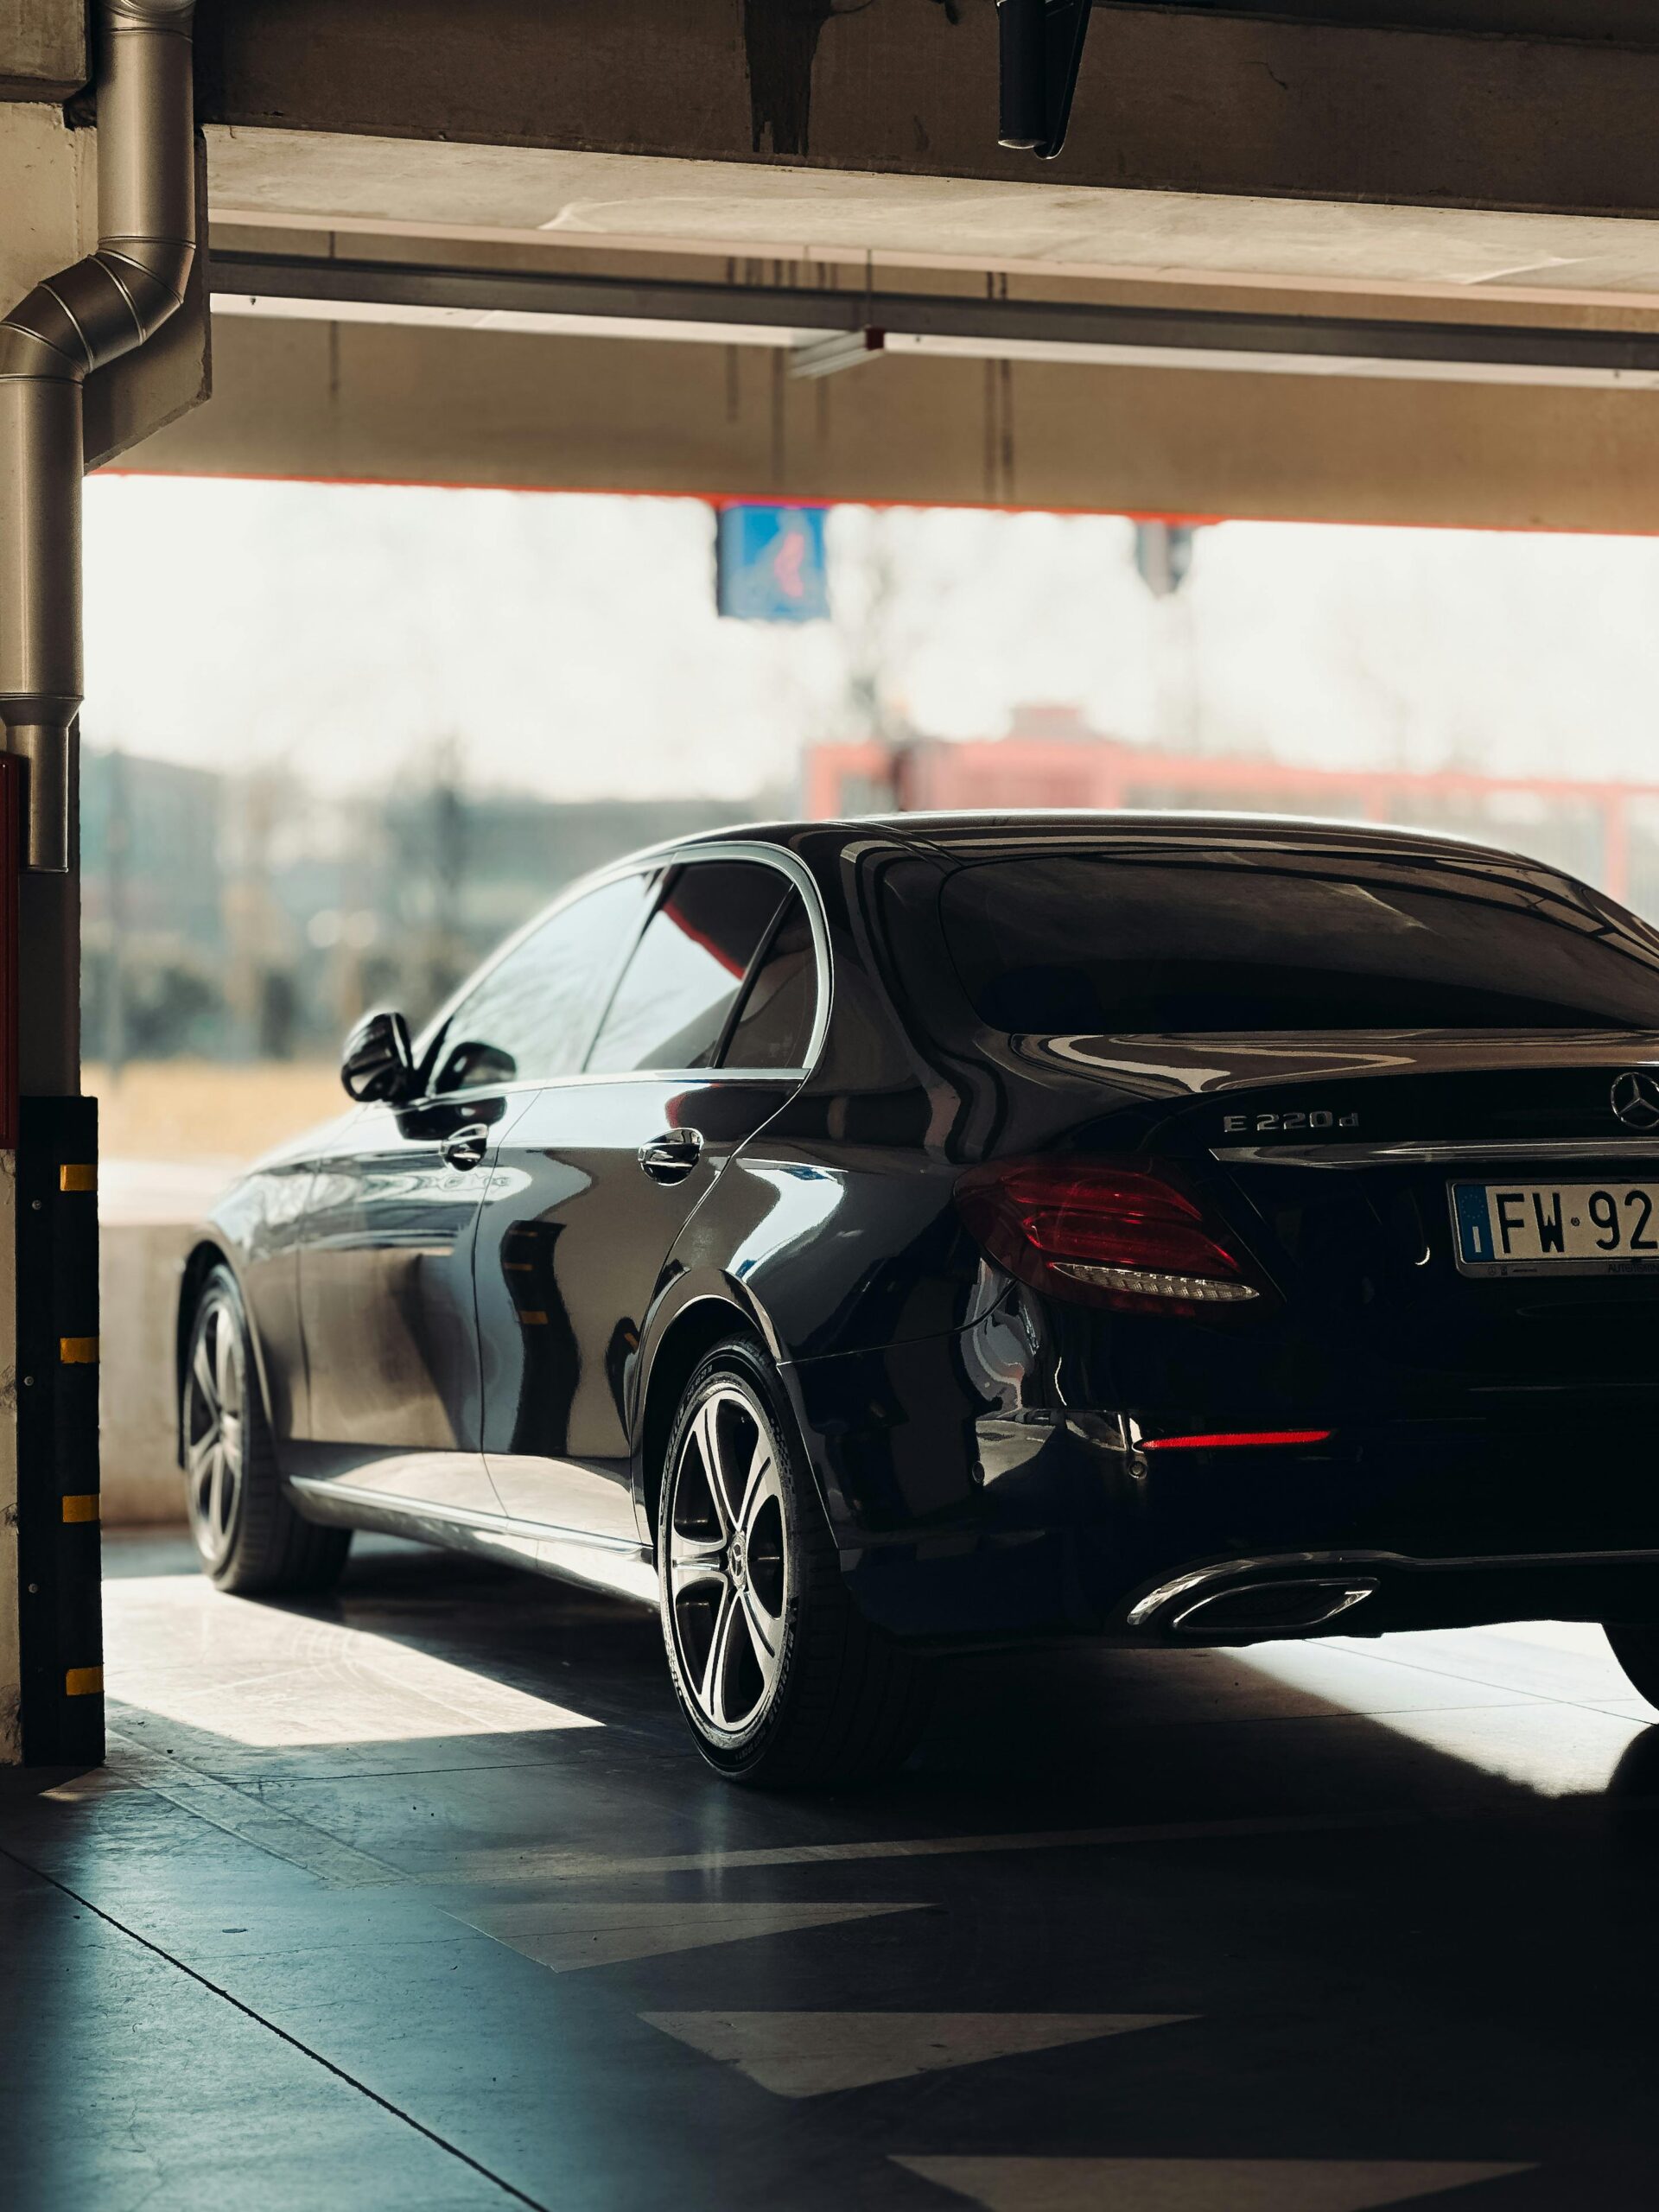
Park Smart and Reduce Heat Exposure

Sun exposure is one of the biggest enemies of window tint over time. While tint is designed to resist UV rays, constant direct sunlight can accelerate fading and adhesive breakdown, especially with lower-quality films.

To protect your tint:

  • Park in shaded areas or garages whenever possible

  • Use windshield sunshades when parked for long periods

  • Consider high-quality ceramic tint for better heat and UV resistance

Smart parking habits don’t just protect your tint, they also keep your car cooler and more comfortable.

Inspect Your Tint Regularly

Routine inspections are a simple but powerful part of after window tint care. Catching small issues early can prevent them from becoming expensive problems later.

Look for:

  • Persistent bubbles after the curing period

  • Peeling or lifting edges

  • Wrinkles or uneven texture

  • Discoloration or fading

It’s normal to see small moisture pockets during the first week. However, if bubbles or haze don’t disappear, or edges begin to lift, contact your installer promptly, especially if your tint is under warranty.

Technician peeling off film from a car window, illustrating the process and cost to remove car window tint

What to Avoid: Common After Window Tint Care Mistakes

Don’t Wash Your Car Too Soon

Washing your car too early is a major cause of tint failure. Water pressure and aggressive cleaning can force moisture under the film or lift the edges before the adhesive has fully set.

Best practice:

  • Wait 5–7 days before washing your car


  • Avoid automated car washes during this time


  • Choose hand washing once curing is complete


  • Be gentle around window edges


Taking it slow during the first wash protects both your paint and your tint.

Avoid Harsh Chemicals and Abrasive Tools

Household glass cleaners often contain ammonia, alcohol, or vinegar, all of which can damage tint film over time. Abrasive tools are just as harmful.

Avoid:

  • Ammonia-based cleaners


  • Razor blades or scrapers


  • Rough sponges or scrub pads


  • Excessive pressure when wiping


Even though tint looks durable, it’s still a thin film that requires gentle care.

Don’t Attempt DIY Fixes

It can be tempting to poke at bubbles or pull at peeling edges, but DIY fixes almost always make things worse.

Common DIY mistakes include:

  • Tearing the film while pulling the edges


  • Leaving permanent marks from poking bubbles


  • Damaging the adhesive beyond repair


If issues appear, always return to a professional. Proper repairs require the right tools and experience, and DIY attempts may void your warranty.

Don’t Ignore Tint Laws

Legal compliance is an often-overlooked part of after window tint care. Every state has regulations governing tint darkness, measured as Visible Light Transmission (VLT).

Using illegal tint can result in:

  • Tickets or fines


  • Required tint removal


  • Voided warranties


Always check local laws and confirm that your tint meets legal limits before installation.

Troubleshooting Common Window Tint Problems

Can you see through tinted windows at night

Understanding the difference between normal curing effects and real damage helps you respond appropriately.

Bubbles vs. Moisture Pockets

  • Normal: Small moisture pockets during the first week

  • Problem: Persistent bubbles after curing

Peeling or Lifting Edges

Often caused by early window use or excess moisture. Professional re-adhering can prevent spreading.

Fading or Purple Tint

Usually linked to low-quality dyed films. Upgrading to carbon or ceramic tint solves this issue.

Scratches and Streaks

Almost always caused by abrasive tools or harsh cleaners. Switching to microfiber cloths prevents further damage.

Early action saves money and preserves performance.

Long-Term After Window Tint Care Tips

Proper care doesn’t stop after the first week. Long-term habits have the biggest impact on how your tint ages.

Ongoing maintenance tips:

  • Clean windows every 2–3 weeks with mild, ammonia-free solutions

  • Use sunshades and interior protection in hot climates

  • Avoid scraping ice directly on tinted glass

  • Be cautious with rear defrosters and sudden temperature changes

Many tint warranties require proof of proper care, so maintaining good habits protects both your tint and your coverage.

Final Thoughts: Protect Your Investment for Years to Come

After window tint care, the difference is between tint that fails early and tint that delivers lasting value. By following the right dos, waiting for proper curing, cleaning gently, parking smart, and inspecting regularly, and avoiding common mistakes like washing too soon or using harsh chemicals, you can enjoy the full benefits of your tint for years.

With just a little attention, your window tint can continue blocking heat, protecting your interior, improving privacy, and enhancing your vehicle’s appearance for a decade or more.

Image of a tinted car window demonstrating reduced visibility—used to highlight key “reasons not to tint car windows,” including safety and clarity concerns.