Autocare

How to Remove Paint Protection Film Safely and Effectively

How to Remove Paint Protection Film Safely Without Hurting Your Vehicle’s Finish

If your vehicle has been protected with paint protection film (PPF), you’ve already taken a smart step toward preserving its finish. However, no protective film lasts forever. Over time, it may yellow, peel, crack, or lose its clarity, prompting many car owners to ask an important question: how to remove paint protection film without damaging the paint underneath.

The good news is that PPF can be removed safely and effectively when done the right way. With patience, proper tools, and the correct technique, you can restore your vehicle’s surface and prepare it for fresh protection or a clean, original look. 

This guide walks you through everything you need to know, from recognizing when removal is necessary to step-by-step instructions and common mistakes to avoid.

Understanding Paint Protection Film and Why Removal Is Necessary

Paint protection film is a clear urethane layer designed to shield your vehicle’s paint from scratches, road debris, UV exposure, and environmental damage. While it does an excellent job protecting your car, PPF is still a consumable product.

Over time, the film can degrade due to:

  • Prolonged UV exposure

  • Environmental contaminants

  • Age and wear

  • Improper installation

When this happens, the film can become more harmful than helpful. Knowing how to remove paint protection film at the right time prevents potential paint damage and restores your car’s appearance.

When Should You Remove Paint Protection Film?

Recognizing the signs that it’s time for removal is the first step.

Yellowing or Fading

As PPF ages, it can discolor or turn yellow, especially on lighter paint colors. This is commonly caused by UV exposure and is more noticeable on older films.

Peeling or Lifting Edges

If the edges of the film begin lifting, dirt and moisture can work their way underneath. This not only looks unsightly but can also damage the paint if left unaddressed.

Bubbling or Cracking

Old or degraded PPF may form bubbles or cracks. Once this happens, removal becomes more difficult and requires extra care.

Hard-to-Clean Surface

When PPF breaks down, it can trap dirt and grime beneath the surface. If washing no longer restores the shine, removal is often the best solution.

Can You Remove Paint Protection Film Yourself?

Yes, it is possible to remove PPF at home, but it depends on the condition and age of the film.

DIY removal is generally suitable when:

  • The film is relatively new

  • It has not cracked or hardened.

  • Adhesive remains flexible

However, older films (especially those installed for more than five years) often have hardened adhesive that is much harder to remove safely. In these cases, professional removal is usually the better option.

Tools You’ll Need for Safe PPF Removal

Before starting, gather the proper tools. Having everything ready ensures a smoother, safer process.

Essential Tools:

  • Heat gun or hair dryer (low to medium heat)

  • Plastic scraper or plastic razor blade

  • Automotive adhesive remover

  • Microfiber towels

  • Car wash soap, sponge, and water

Avoid metal tools or harsh chemicals, as they can scratch or damage the paint.

Can you see through tinted windows at night

How to Remove Paint Protection Film: Step-by-Step Guide

Follow these steps carefully to ensure safe and effective removal.

Step 1: Clean the Surface Thoroughly

Start by washing your vehicle to remove dirt, dust, and debris. A clean surface reduces the risk of scratching the paint while peeling off the film.

Dry the area completely before moving on to the next step.

Step 2: Apply Heat to Soften the Adhesive

Heat is the most important part of the process. Using a heat gun or hair dryer on a low to medium setting, gently warm a small section of the film.

Hold the heat source a few inches away and keep it moving in circular motions. This evenly softens the adhesive without overheating the paint.

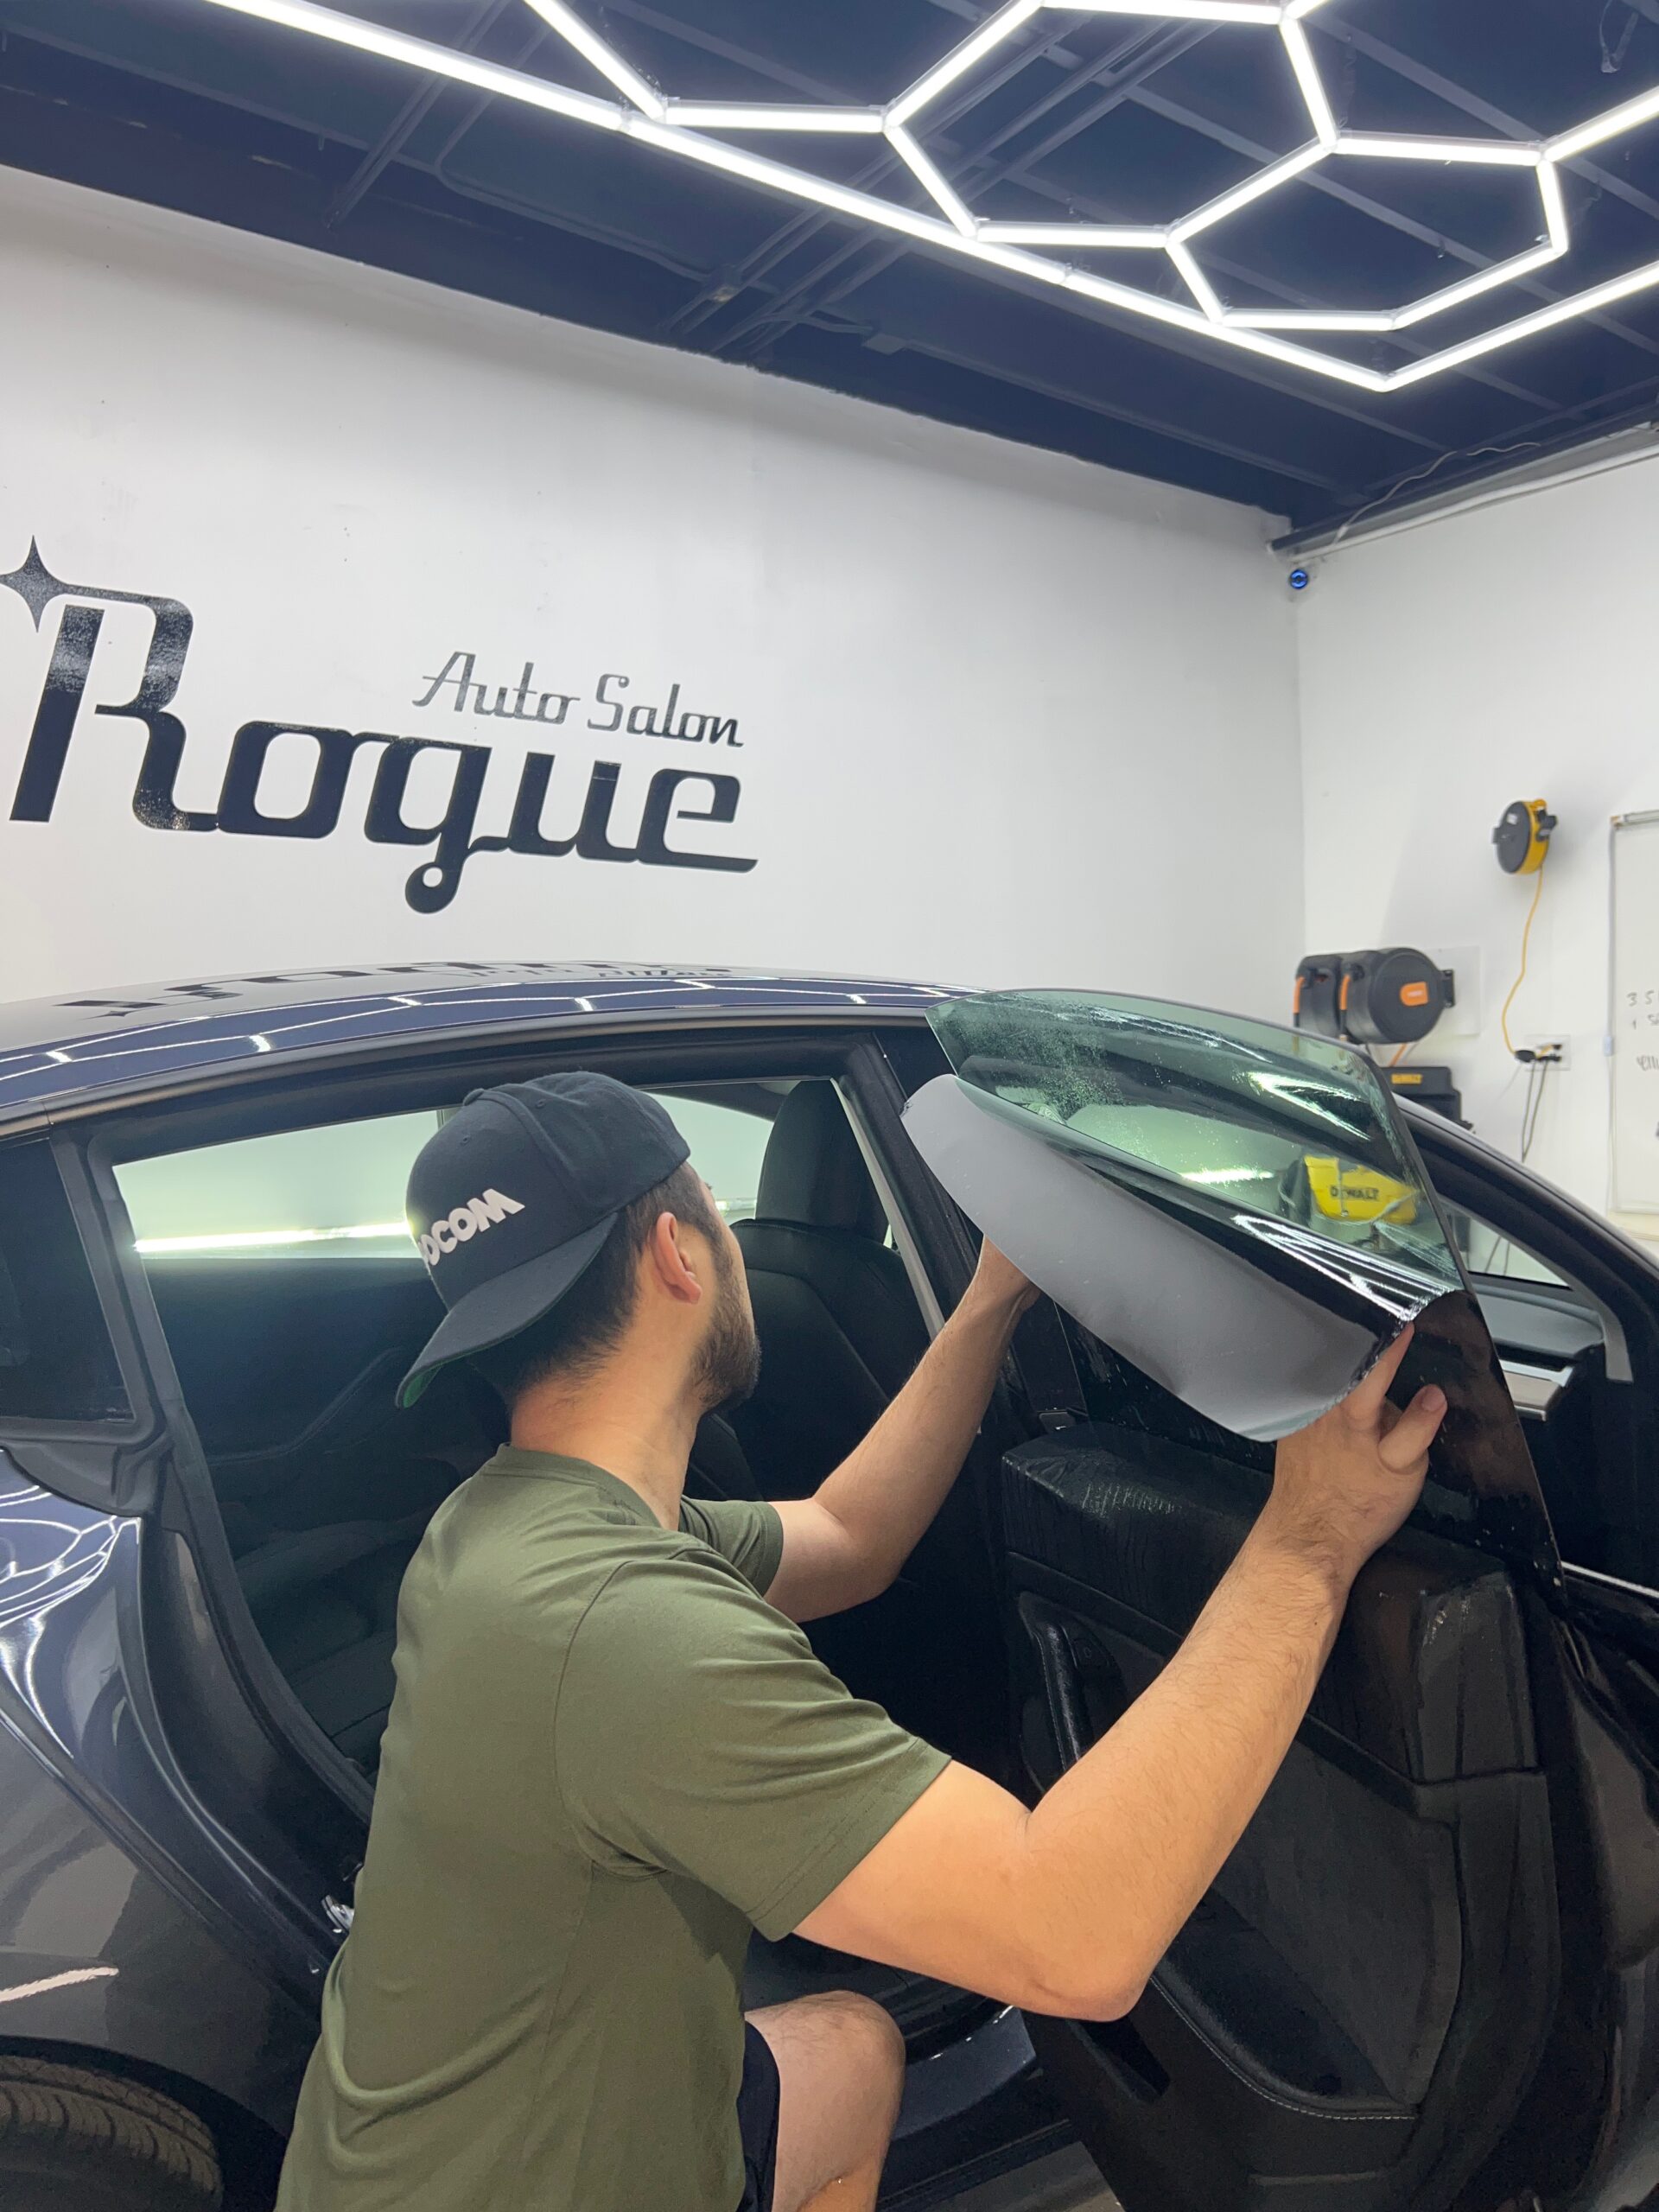
Step 3: Lift the Edge Carefully

Once the film is warm, use your fingers or a plastic scraper to lift one corner of the film. Be gentle; forcing the film can cause tearing or leave behind adhesive residue.

If the film resists lifting, apply more heat before continuing.

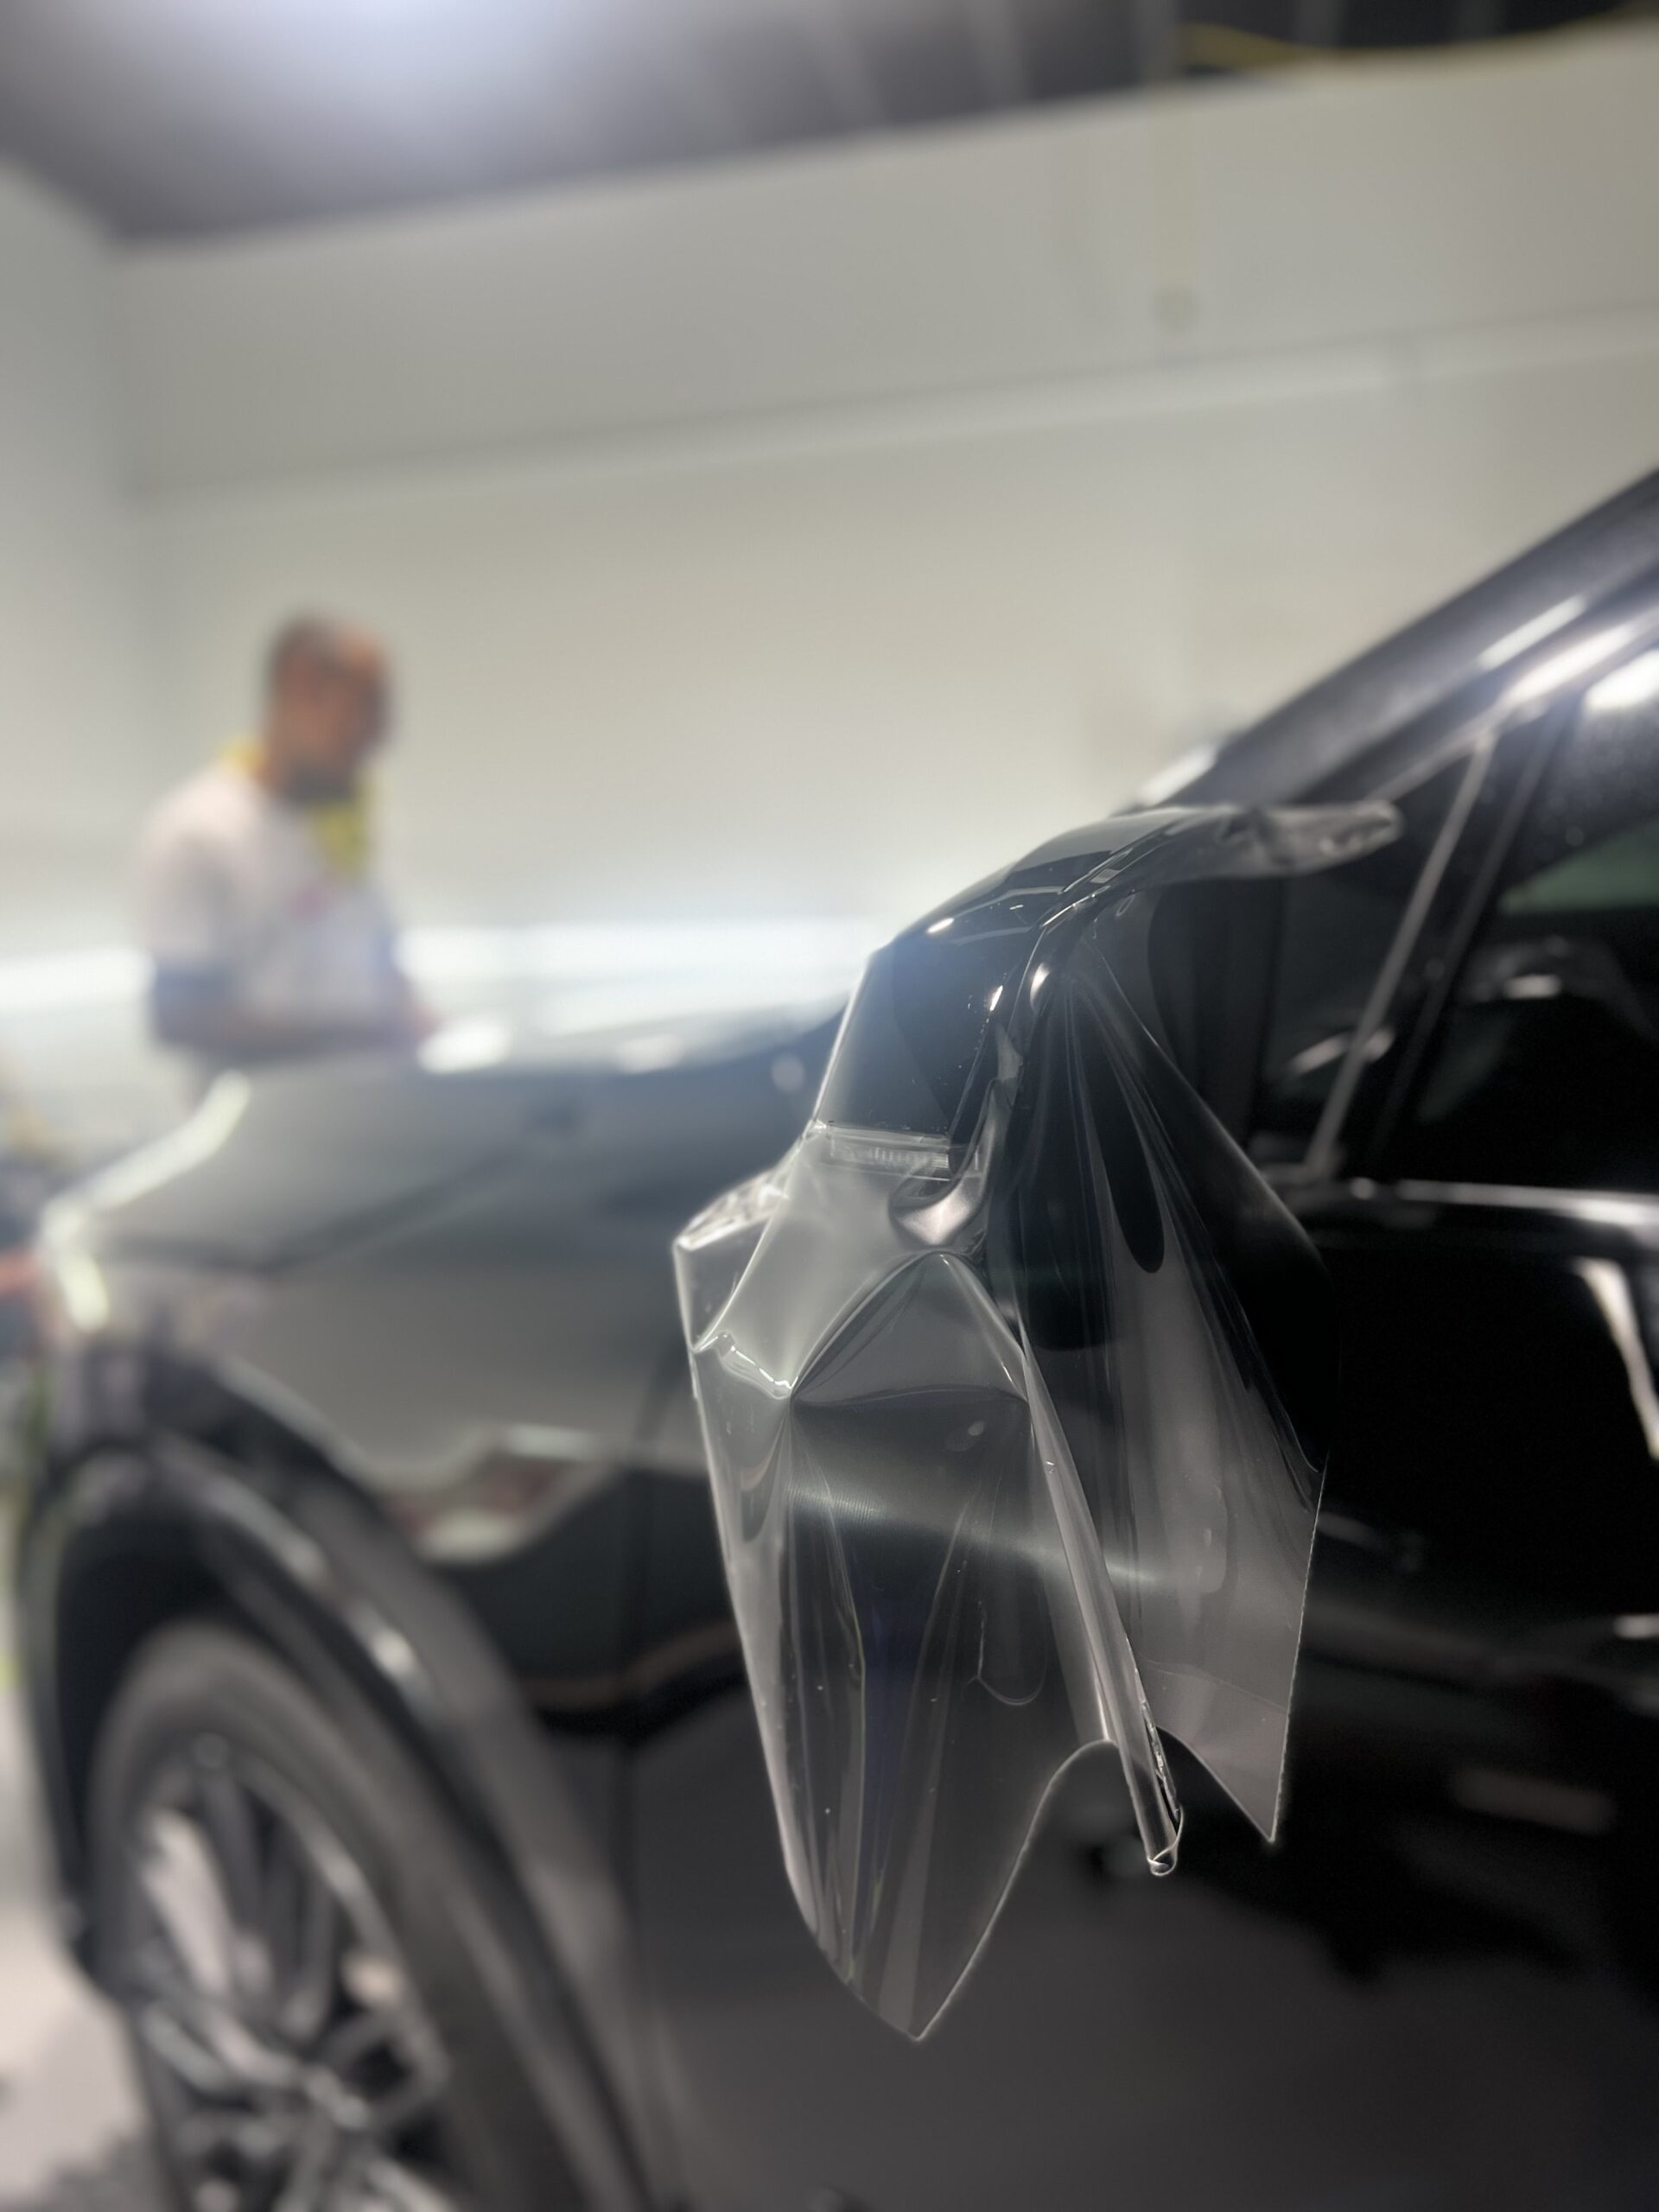
Step 4: Peel the Film Slowly and at the Right Angle

With the edge lifted, begin peeling the film back slowly at about a 45-degree angle. This angle helps reduce adhesive residue and lowers the risk of paint damage.

Work in small sections, applying heat as needed. Rushing this step is one of the most common mistakes people make when learning how to remove paint protection film.

Step 5: Remove Adhesive Residue

After the film is removed, some adhesive residue may remain on the paint. This is normal.

Apply a small amount of automotive adhesive remover to a microfiber towel and gently wipe the affected area. Allow the remover to sit briefly if needed, then wipe clean.

Avoid sharp tools or abrasive pads during this step.

Step 6: Wash the Surface Again

Once all residue is removed, wash the area again using car soap and water. This removes any remaining adhesive remover and leaves the surface clean.

Dry the paint with a microfiber towel.

Step 7: Polish and Protect the Paint

After removal, polishing the paint can help restore shine and eliminate any minor imperfections revealed after the film is gone.

At this point, you can:

  • Apply wax or sealant

  • Prepare the surface for new PPF

  • Consider other protective options.

Proper finishing ensures your paint looks fresh and well-maintained.

Common Mistakes to Avoid When Removing PPF

ceramic car coating for red car

Even with good intentions, mistakes can lead to costly paint damage. Avoid these common errors:

Pulling the Film Too Quickly

Fast removal increases the chance of adhesive residue and paint damage. Slow and steady is key.

Skipping the Heat Step

Cold PPF becomes brittle and difficult to remove. Heat softens the adhesive and makes removal much easier.

Using Metal Tools

Metal scrapers or razor blades can scratch the paint. Always use plastic tools or your fingers.

Leaving Adhesive Residue Behind

Incomplete residue removal allows the adhesive to harden over time, making future cleaning much harder.

DIY vs. Professional PPF Removal

When DIY Removal Makes Sense

  • Film is newer and more flexible

  • No major cracking or bubbling

  • You have the right tools and patience.

When to Hire a Professional

  • The film is more than five years old.

  • Severe yellowing, cracking, or bubbling

  • Complex curves and edges

  • High-value or luxury vehicles

Professionals have experience, specialized tools, and controlled environments that reduce risk, especially for older films.

Reapplying Paint Protection Film After Removal

Once the old film is removed, many owners choose to reapply PPF for continued protection.

Before reinstallation:

  • Ensure the surface is completely clean

  • Polish the paint if necessary.

  • Allow time for inspection and preparation.

High-quality PPF with good UV resistance and clarity can keep your vehicle protected for years when installed correctly.

How Long Does It Take to Remove Paint Protection Film?

There’s no one-size-fits-all answer. Removal time depends on:

  • Age of the film

  • Condition and adhesive strength

  • Size of the covered area

A small, newer section may take under an hour, while older, degraded film can take several hours.

How to remove paint protection film​

Does Removing PPF Damage Car Paint?

When done correctly, removing PPF does not damage the paint. Using heat, peeling slowly, and cleaning thoroughly protects the underlying surface.

Problems usually arise from rushing, using improper tools, or skipping essential steps.

Final Thoughts: How to Remove Paint Protection Film Safely and Effectively

Learning how to remove paint protection film properly is essential for maintaining your vehicle’s appearance and protecting its paint. While the process requires time and patience, following the right steps makes it safe and manageable.

Use heat generously but carefully, peel slowly, clean thoroughly, and know when to call a professional. Whether you’re preparing for new protection or restoring your car’s original finish, proper PPF removal ensures the paint underneath remains smooth, glossy, and damage-free.

With the right approach, removing paint protection film doesn’t have to be intimidating; it can be a satisfying step toward keeping your vehicle looking its best for years to come.

"Close-up of a car window with dark tint, reflecting the sky and surroundings