The Best Heat Gun Techniques for Removing Window Tint and Adhesive
If you’re looking for an effective DIY method, using a heat gun to remove tint is one of the fastest ways to get old or damaged window film off your car windows. Whether the tint is bubbling, fading, or just no longer needed, heat softens the adhesive underneath so the film can be peeled away more cleanly and with less mess compared to chemical-heavy methods.
When done properly, it can save time and reduce residue, but it still requires patience and care to avoid damaging your glass.
This guide walks you through the process step by step, along with key safety tips and what to expect during removal.
Yes, a heat gun has shown substantial progress in removing window tint.
A heat source applied gradually relaxes the bonding substance beneath the window coating. As warmth spreads, flexibility increases across the sheet material. This change permits steady separation from the surface below. Movement proceeds smoothly when done slowly, avoiding jagged breaks along weak points.
Heat-driven removal tends to move more quickly than alternatives such as detergent solutions. Still, precision matters when applying warmth. Should the temperature rise too high, the film may fuse tighter to the surface, turning a simple task into a tougher one. While speed improves, oversight introduces new complications.
Thus, the aim becomes clear: maintain consistent warmth of mild intensity while allowing the bond to release on its own.
To begin, collect several essential items that help ease progress through the steps ahead
Preparedness ensures steady progress, avoiding haste that might harm the glass during execution.
Heat begins at the outer edge of the window. Movement follows a smooth loop pattern, never pausing in one place. Even distribution results when warmth travels without stopping too long anywhere. Damage is avoided because the temperature remains balanced across the surface.
Avoid intense temperatures; warmth detectable by hand is enough. Should the film begin to ripple or appear softening, excessive heat may be the cause.
Softening the adhesive beneath the film allows easier removal later. Heat makes this bond less resistant. That reaction happens gradually. When warmth spreads, separation follows without force. The process needs patience. A steady temperature works best. Over time, cohesion weakens. Then lifting becomes simple. Resistance drops as the material relaxes. This stage prepares for smooth peeling. Progress depends on even exposure.
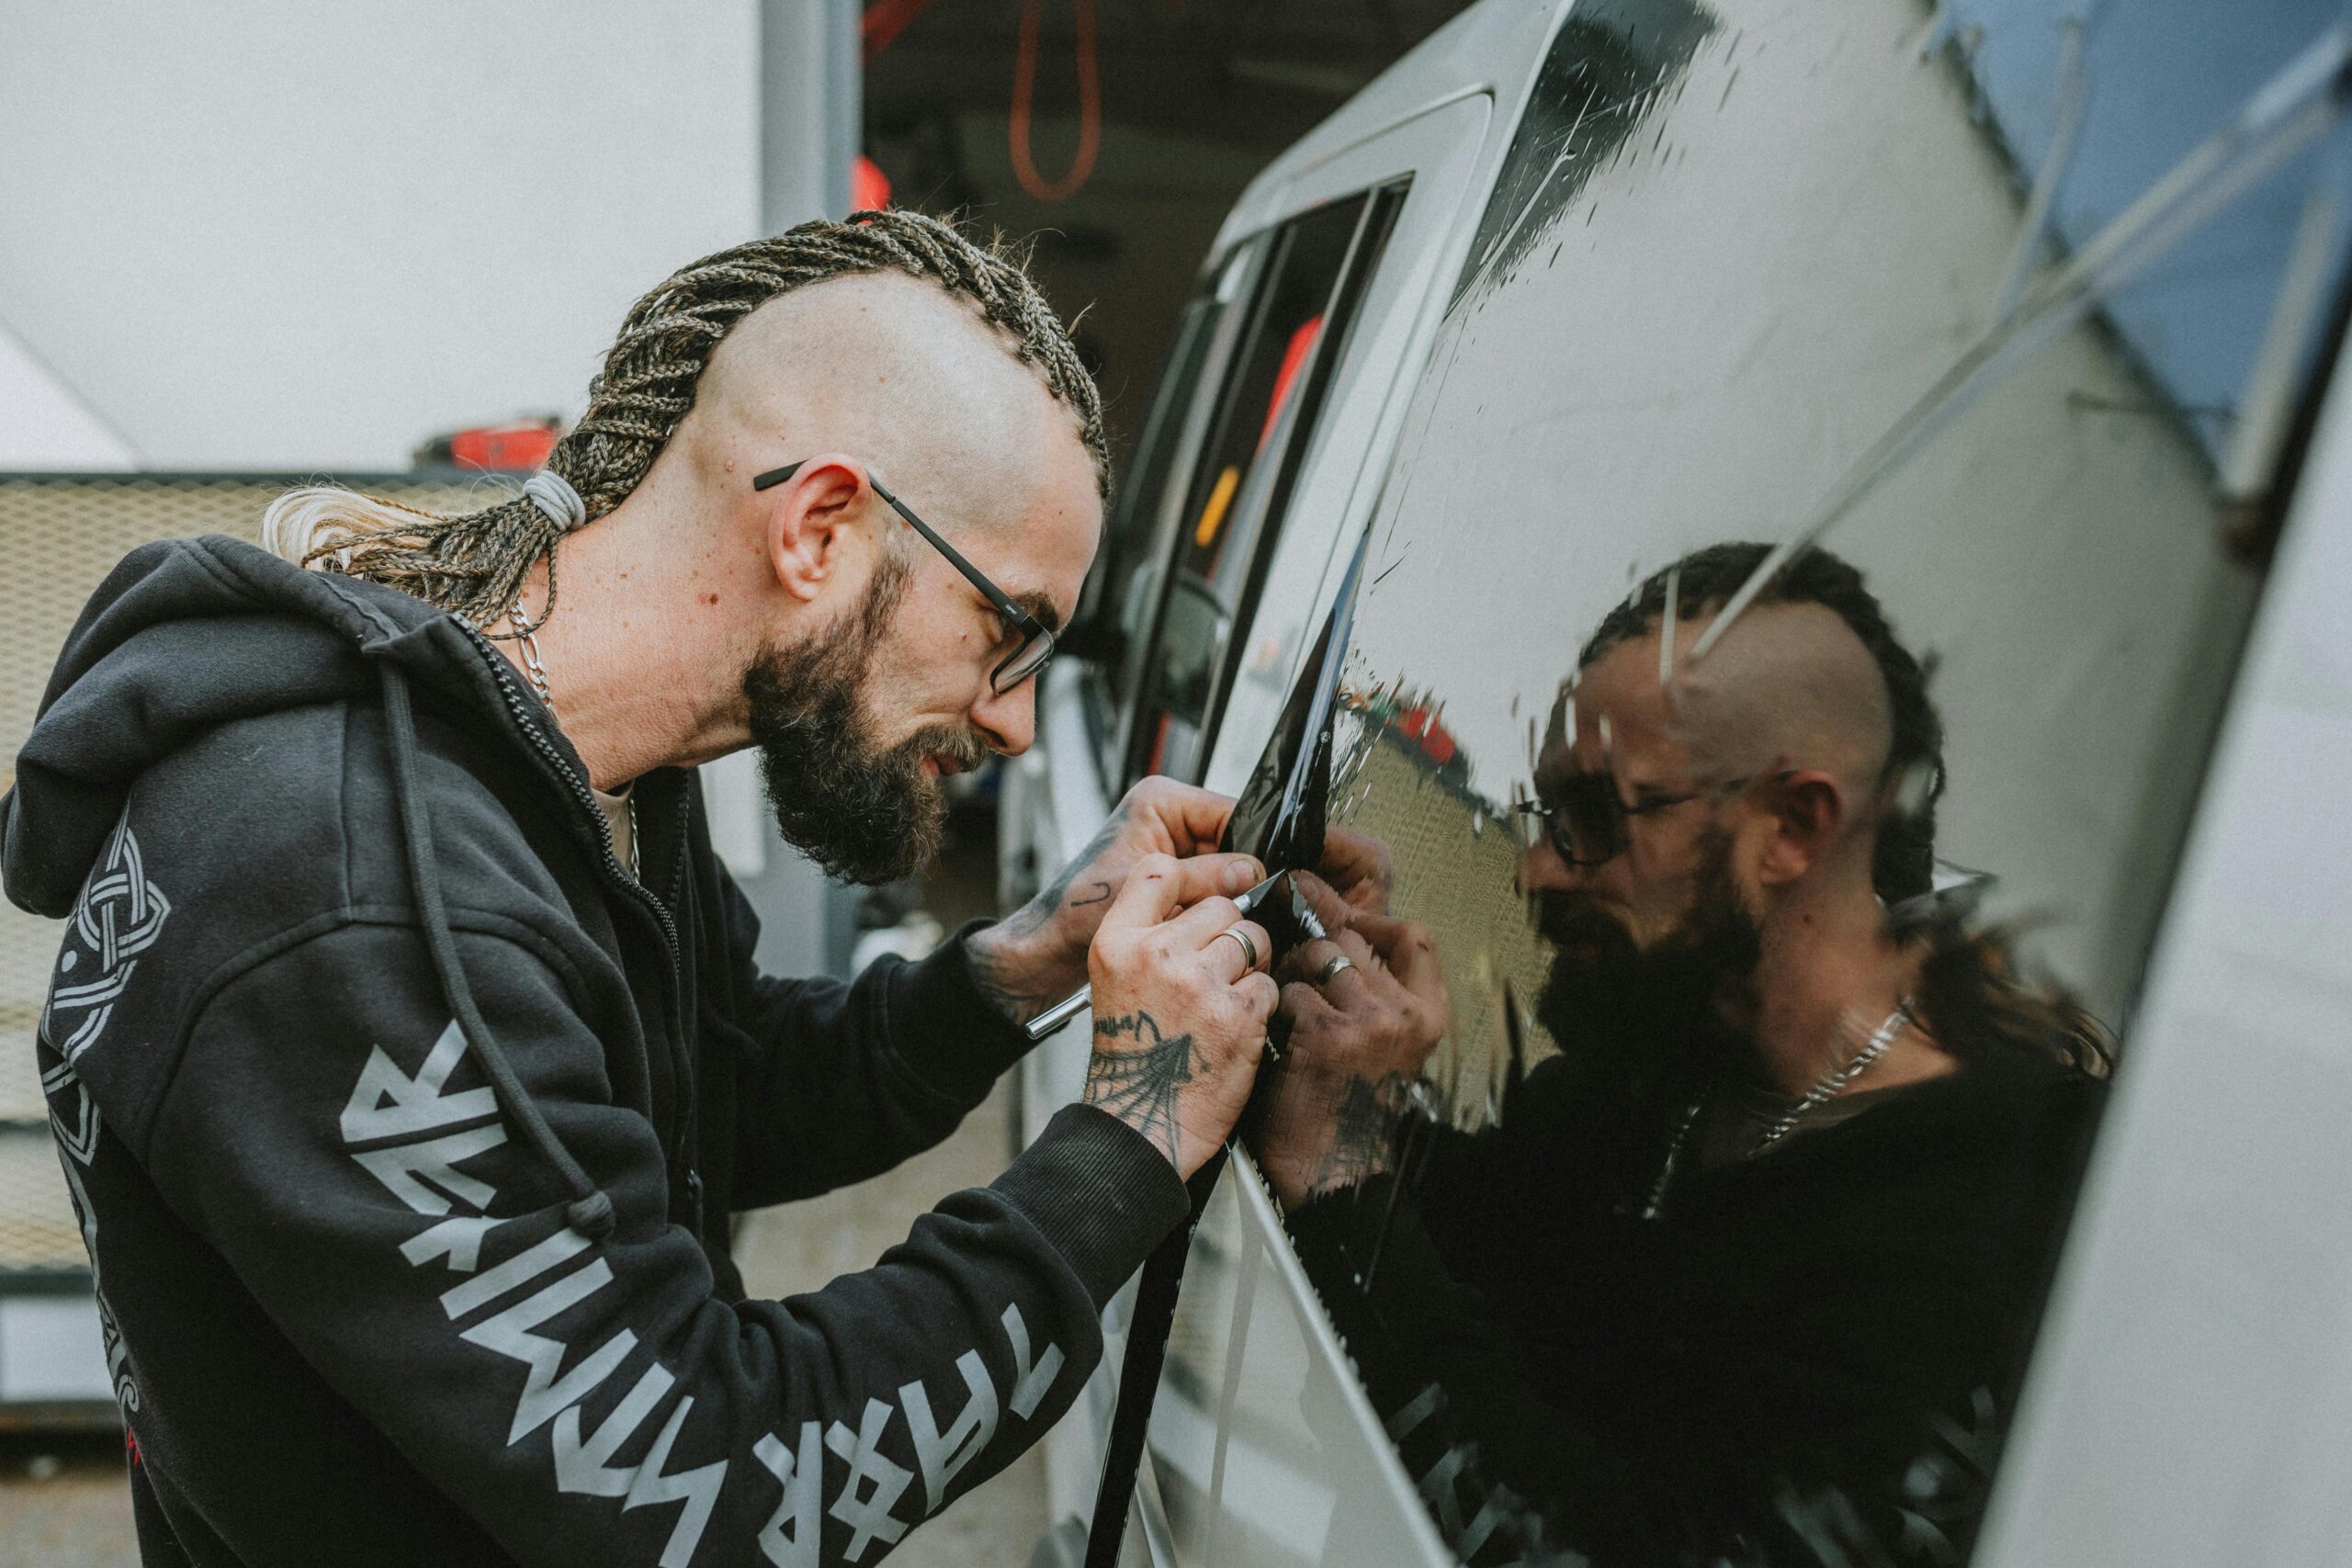
With heat spread across the surface, begin by easing up one edge of the tint using a straight-edged tool made of metal or firm plastic. Care must be taken so the glass remains unmarked throughout the motion. Excessive force serves no purpose during this phase.
Beginning with the edge, most tints peel free when warmth loosens the glue beneath. Polyester layers form these films, reacting slowly until fully warmed. Should resistance occur, additional heat often helps release the bond. Patience matters here – rushing may tear the material before separation occurs.
This process may require some time, particularly when dealing with aged or strongly adherent film.
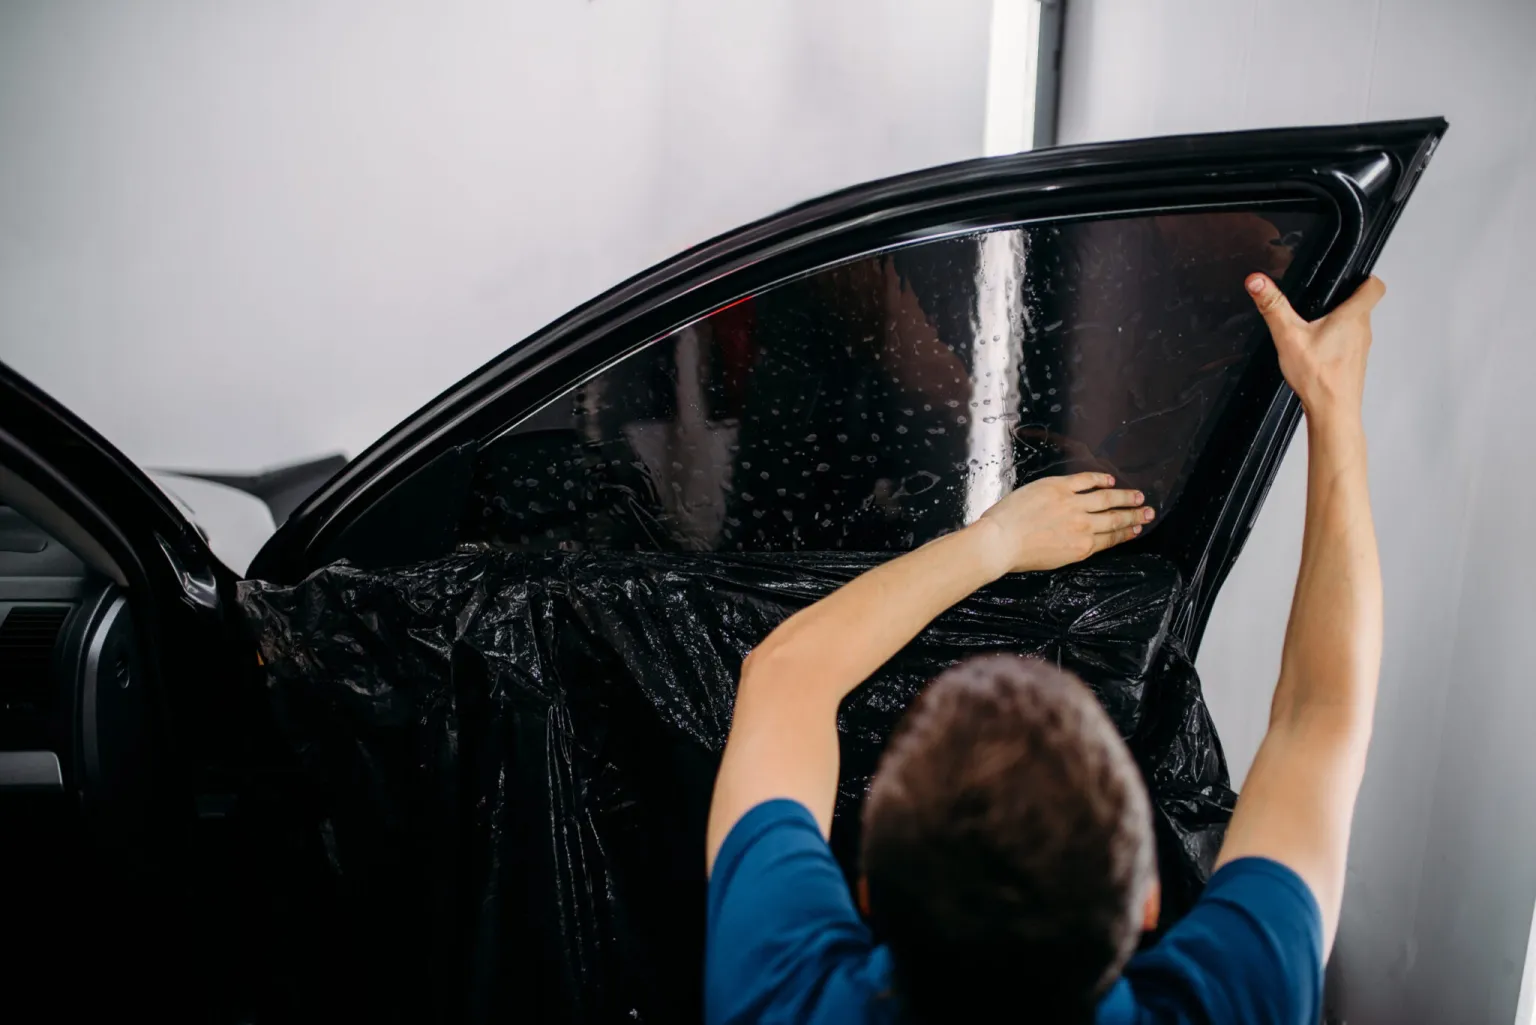
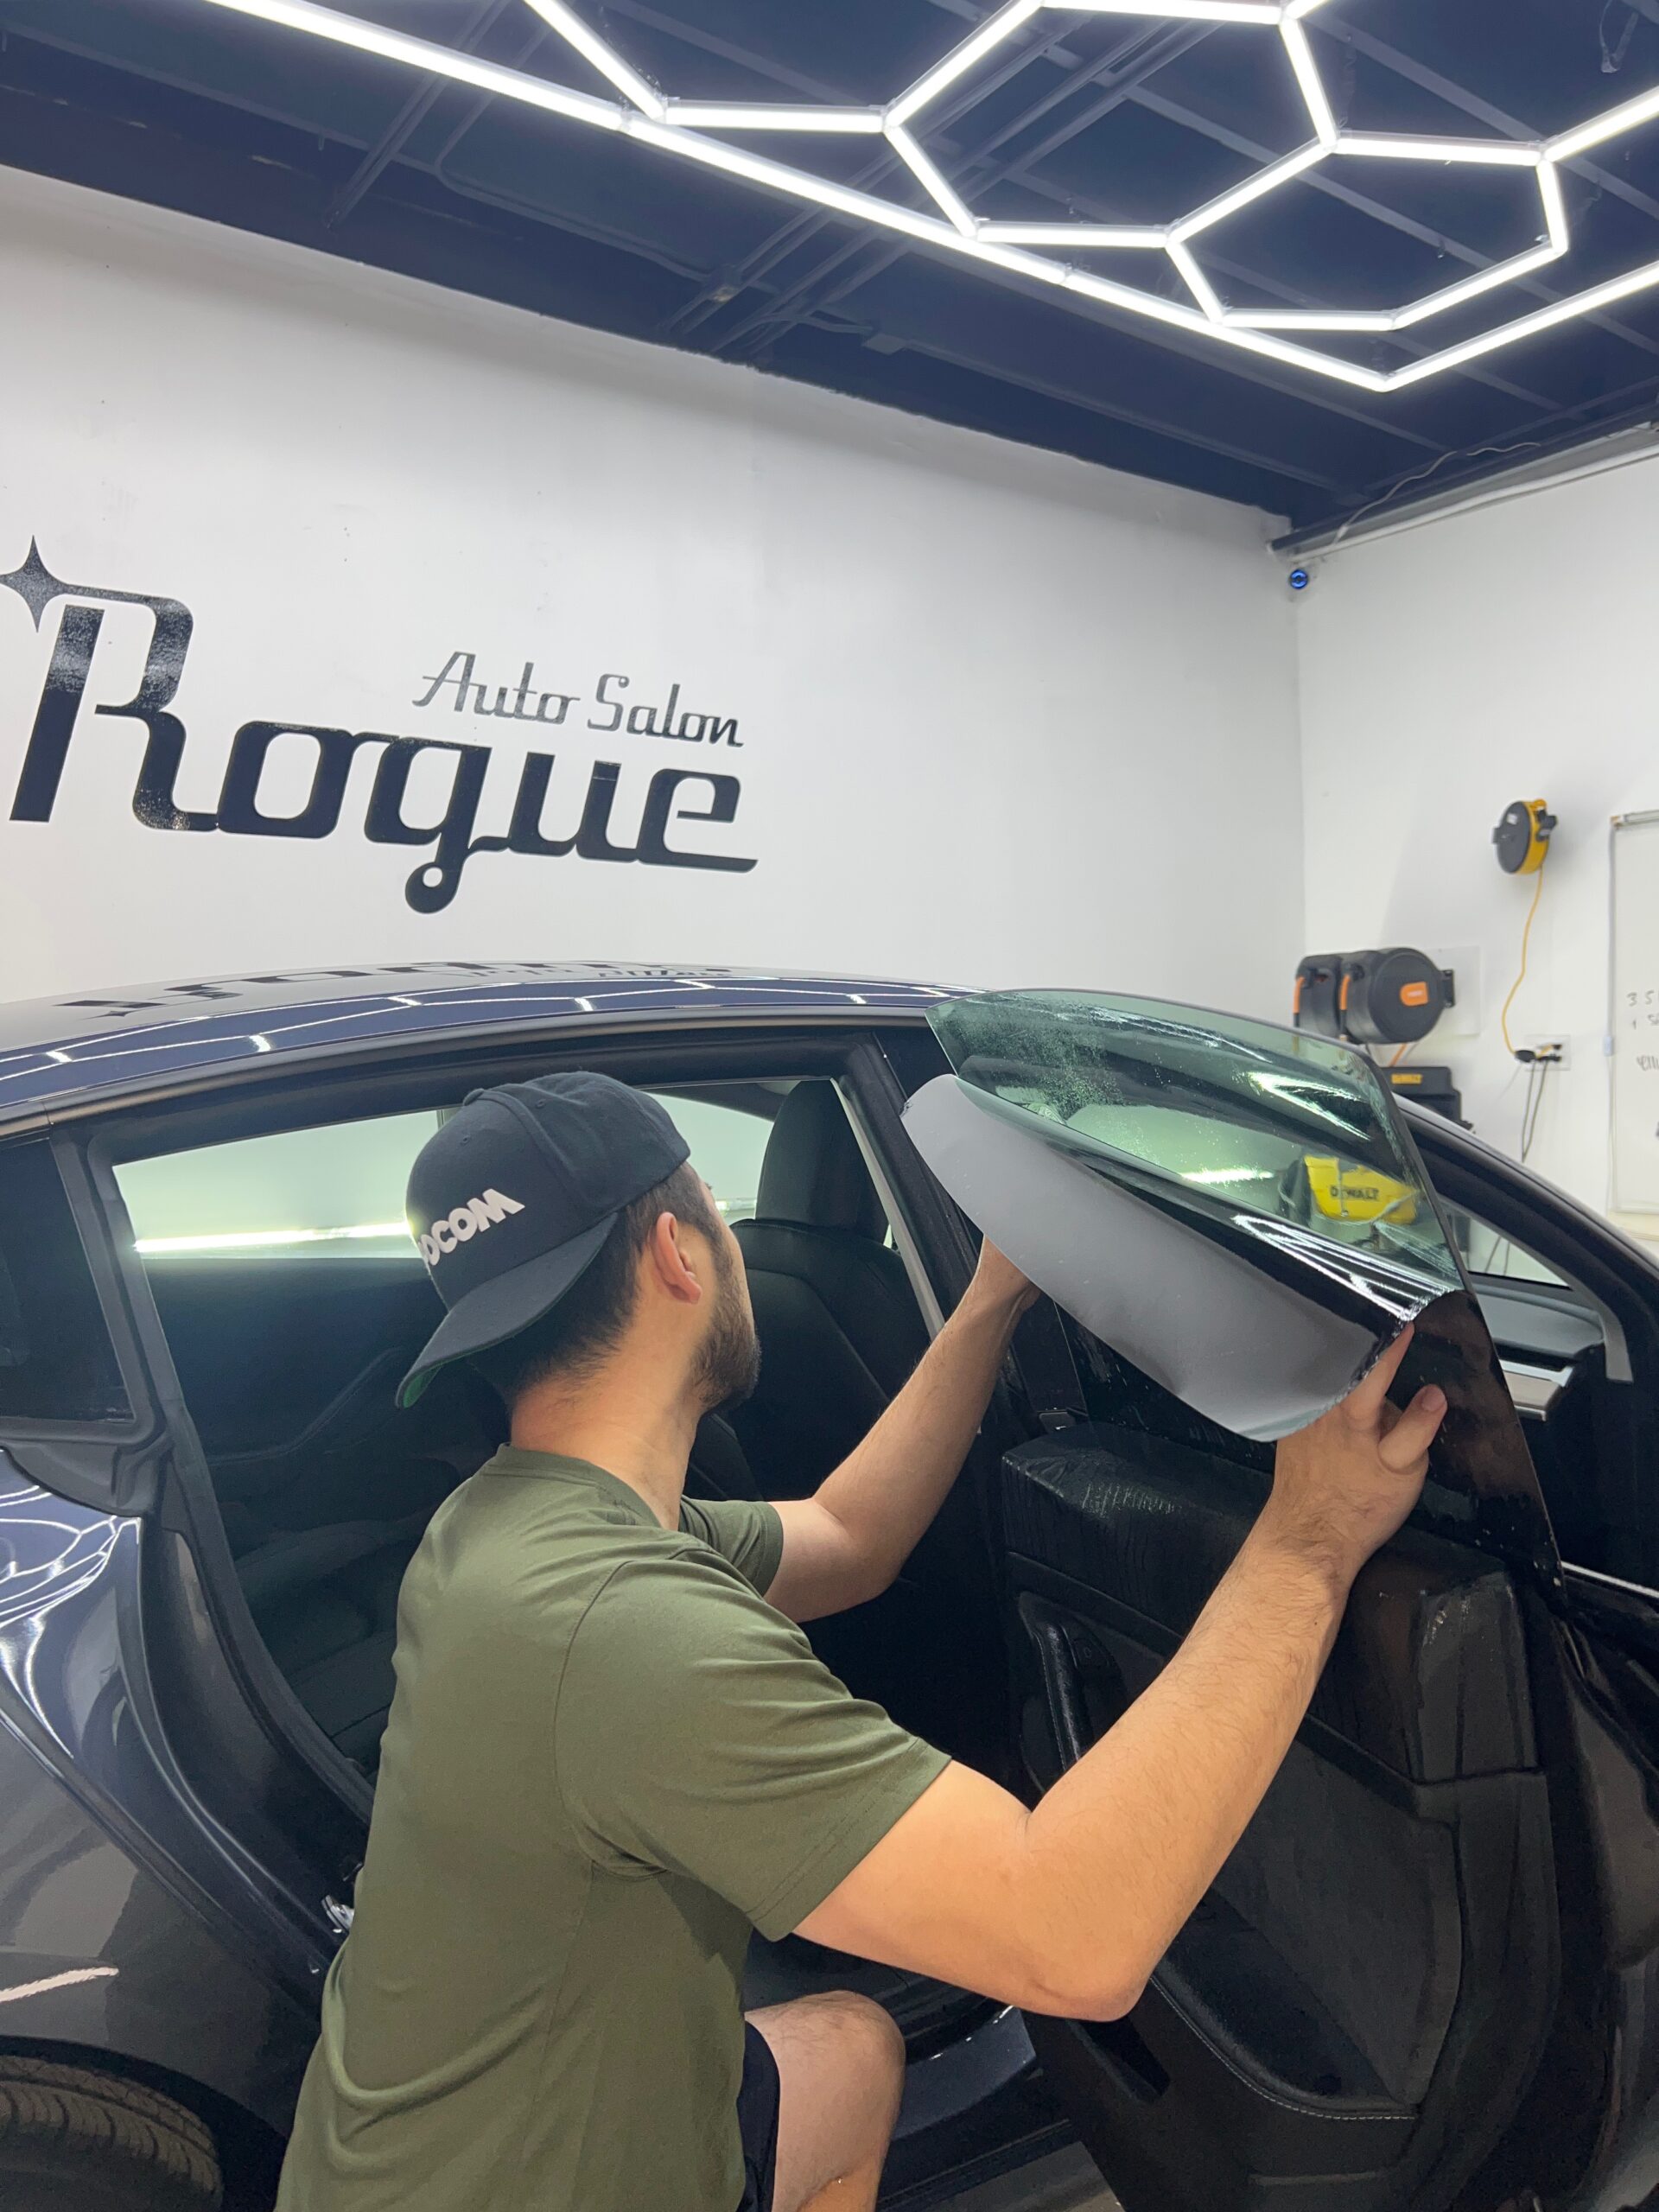
Once a corner is free, ease the tint off without haste. A sudden tug risks shredding the material into fragments. Slow motion prevents splits.
While peeling, maintain warmth using the heat gun on the active area. Heat prevents stiffening of the bond, aiding motion across surfaces. Progress unfolds more evenly when the temperature stays consistent throughout.
Occasionally, pausing to rewarm certain areas more than once becomes necessary. This is expected, particularly when the film has remained popular for several years.
Patience, applied over time, leads to clarity. What emerges is shaped by consistency rather than speed. Gradual effort tends to leave fewer traces behind. The outcome often appears untouched by rush or force.
Once the film lifts away, a faint stickiness may remain across the surface. Perfectly expected behavior follows such removal.
Starting with a soft cloth, apply adhesive remover to loosen residue gradually. Where buildup remains, another pass may be necessary. A section at a time ensures even results across the area. Finish only when clarity of surface meets quiet expectation.
A few individuals prefer a light scrape along with liquid cleaner; however, care is needed to avoid surface damage. Glass can mark easily under pressure. Attention shifts toward gentler methods when risks rise.
A properly executed finish matters when aiming to reapply tint at some point, just seeking spotless clarity across the glass. Final results depend on precision during cleanup, especially ahead of additional treatments. Smooth outcomes often follow meticulous wiping, particularly before new coatings go on. Attention to detail shows most after the cloth is put away, revealing what was truly achieved.
Though often overlooked, the rear glass contains hidden components such as heating filaments or radio conductors. When pressure is applied during cleaning, harm may occur to these fragile parts. A gentle approach prevents unintended issues down the line.
While addressing these windows:
Repairing broken defroster lines often brings high costs, which makes taking time essential here. Though simple, waiting reduces mistakes significantly during this phase.
Though many choose a heat gun for fast tint removal, alternatives exist.
Using soap is one such alternative. With time, the soap solution softens the glue, allowing the slow separation of film layers.
For removing residue, soapy water costs less yet demands extra time. It works without specialized equipment; however, it tends to leave behind a sticky film. This often results in additional effort later on. Cleanup becomes necessary due to lingering traces.
On the other hand, applying heat often lifts the film faster and with cleaner results under proper conditions. Still, mistakes like excessive temperature or hurried removal can lead to greater complications.
One way might suit better if handling it feels natural, given what is at hand. Speed matters when picking a path; the tools present could slow or ease progress. Comfort shapes decisions just as much as time, depending on the situation. Available resources weigh heavily, especially under tight schedules.
Peeling off window tint tends to go smoothly – yet certain errors turn simple tasks difficult. Mistakes, when repeated, extend the process unnecessarily
Heat damage might cause the film to soften, fusing it further into place.
Film may split apart when handled too quickly, which extends the duration of tasks. Though speed seems helpful, it often results in fragile breaks across the surface. A steady approach prevents fragmentation, yet haste introduces delays through repeated corrections.
Should residue remain, glass surfaces may appear unclean while gathering particles over time.
When pressure is applied while cleaning the back glass, long-term harm may occur. Damage often appears after repeated harsh wiping during maintenance routines.
Avoiding these errors leads to fewer complications during execution. Smoother progress often follows when missteps are left out. The outcome tends to appear more refined without them. Cleaner results come naturally when common faults are skipped entirely.
To maximize effectiveness when using a heat gun, consider several straightforward points. Starting carefully helps prevent sudden damage. With steady movement, overheating one spot becomes less likely.
A pause now and then allows better assessment. Because materials respond differently, adjusting temperature matters. Over time, experience improves precision. From distance control to timing, small choices shape results
When peeling grows challenging, warmth returns ease. At moments of resistance, a second warming helps progress. Should adhesion persist, renewed heat restores workability. If separation falters, thermal reactivation supports release. Peeling issues occur when the temperature is reintroduced
Results improve when moments are allowed to unfold slowly. A pause often brings clarity where haste would fail. Time given is time gained, though that seems backward at first glance
Even minor changes might influence the ease of tint removal significantly. A slight shift here or there affects the outcome more than expected. What seems like a tiny detail could alter the entire process. The way the material responds often depends on these subtle factors. Success may hinge not on major steps, but on precision. How smoothly it lifts away relates closely to such fine points.
Using a heat gun to remove tint is one of the most effective DIY methods for restoring your windows to a clean, clear finish. It’s faster than many alternatives and typically results in less adhesive residue when done correctly.
The key is controlled heat, slow peeling, and careful cleanup afterward. While it does require attention, especially on rear windows with sensitive wiring, the process is manageable for most car owners with basic tools.
If your tint is outdated or starting to peel, this method offers a practical way to refresh your vehicle’s appearance without needing professional removal services.