Bad Tint Job: 10 Signs Your Car Window Tint Was Installed Wrong
How to Spot and Fix a Bad Tint Job Quickly
A car’s window tint does more than just give your vehicle a sleek, stylish look,, it protects your interior from UV damage, reduces glare, increases privacy, and even improves safety by holding shattered glass together.
But when a window tint isn’t applied correctly, all these benefits can be compromised. A bad tint job not only looks unprofessional, but it can also lead to legal issues, reduced visibility, and early film failure.
In this guide, we’ll walk you through the top 10 signs that your car’s window tint was installed incorrectly, what causes these problems, and how to fix or prevent them.
Why a Bad Tint Job Matters
Many car owners assume that window tinting is a purely cosmetic upgrade. While a correctly installed film does enhance appearance, the consequences of a bad tint job go far beyond aesthetics. Poor installation can lead to:
Legal issues: Violating your state’s Visible Light Transmission (VLT) laws can result in fines and failed vehicle inspections.
Reduced safety: Bubbles, peeling edges, or hazy films can obscure vision while driving.
Interior damage: Low-quality or improperly applied tints may fail to block UV rays, causing dashboard and upholstery fading.
Increased frustration and cost: Replacing a failed tint costs time and money, often exceeding the original installation price.
Understanding the signs of a bad tint job can save you from these headaches and ensure your investment in tinting pays off.
1. Excessive Bubbles or Air Pockets
The most obvious indicator of a bad tint job is the presence of bubbles or air pockets between the tint film and your window.
Causes: Trapped dust, dirt, moisture, or improper film application.
Impact: Bubbles can expand over time, causing corners to lift and the tint to peel.
DIY tip: Small bubbles may disappear after 7–10 days as moisture evaporates. For larger, persistent bubbles, a heat gun and squeegee can help smooth the film, or professional correction may be required.
2. Peeling or Lifting Edges
If the edges of your tint are peeling away from the glass, it’s a clear sign of poor installation.
Causes: Film not cut to the proper size, low-quality adhesive, or improper edge sealing.
Impact: Reduces both the longevity and effectiveness of the tint; creates an unsightly finish.
Solution: Carefully lift the edge, apply adhesive or soapy solution, and smooth it with a squeegee. Severe cases may require replacing the film.
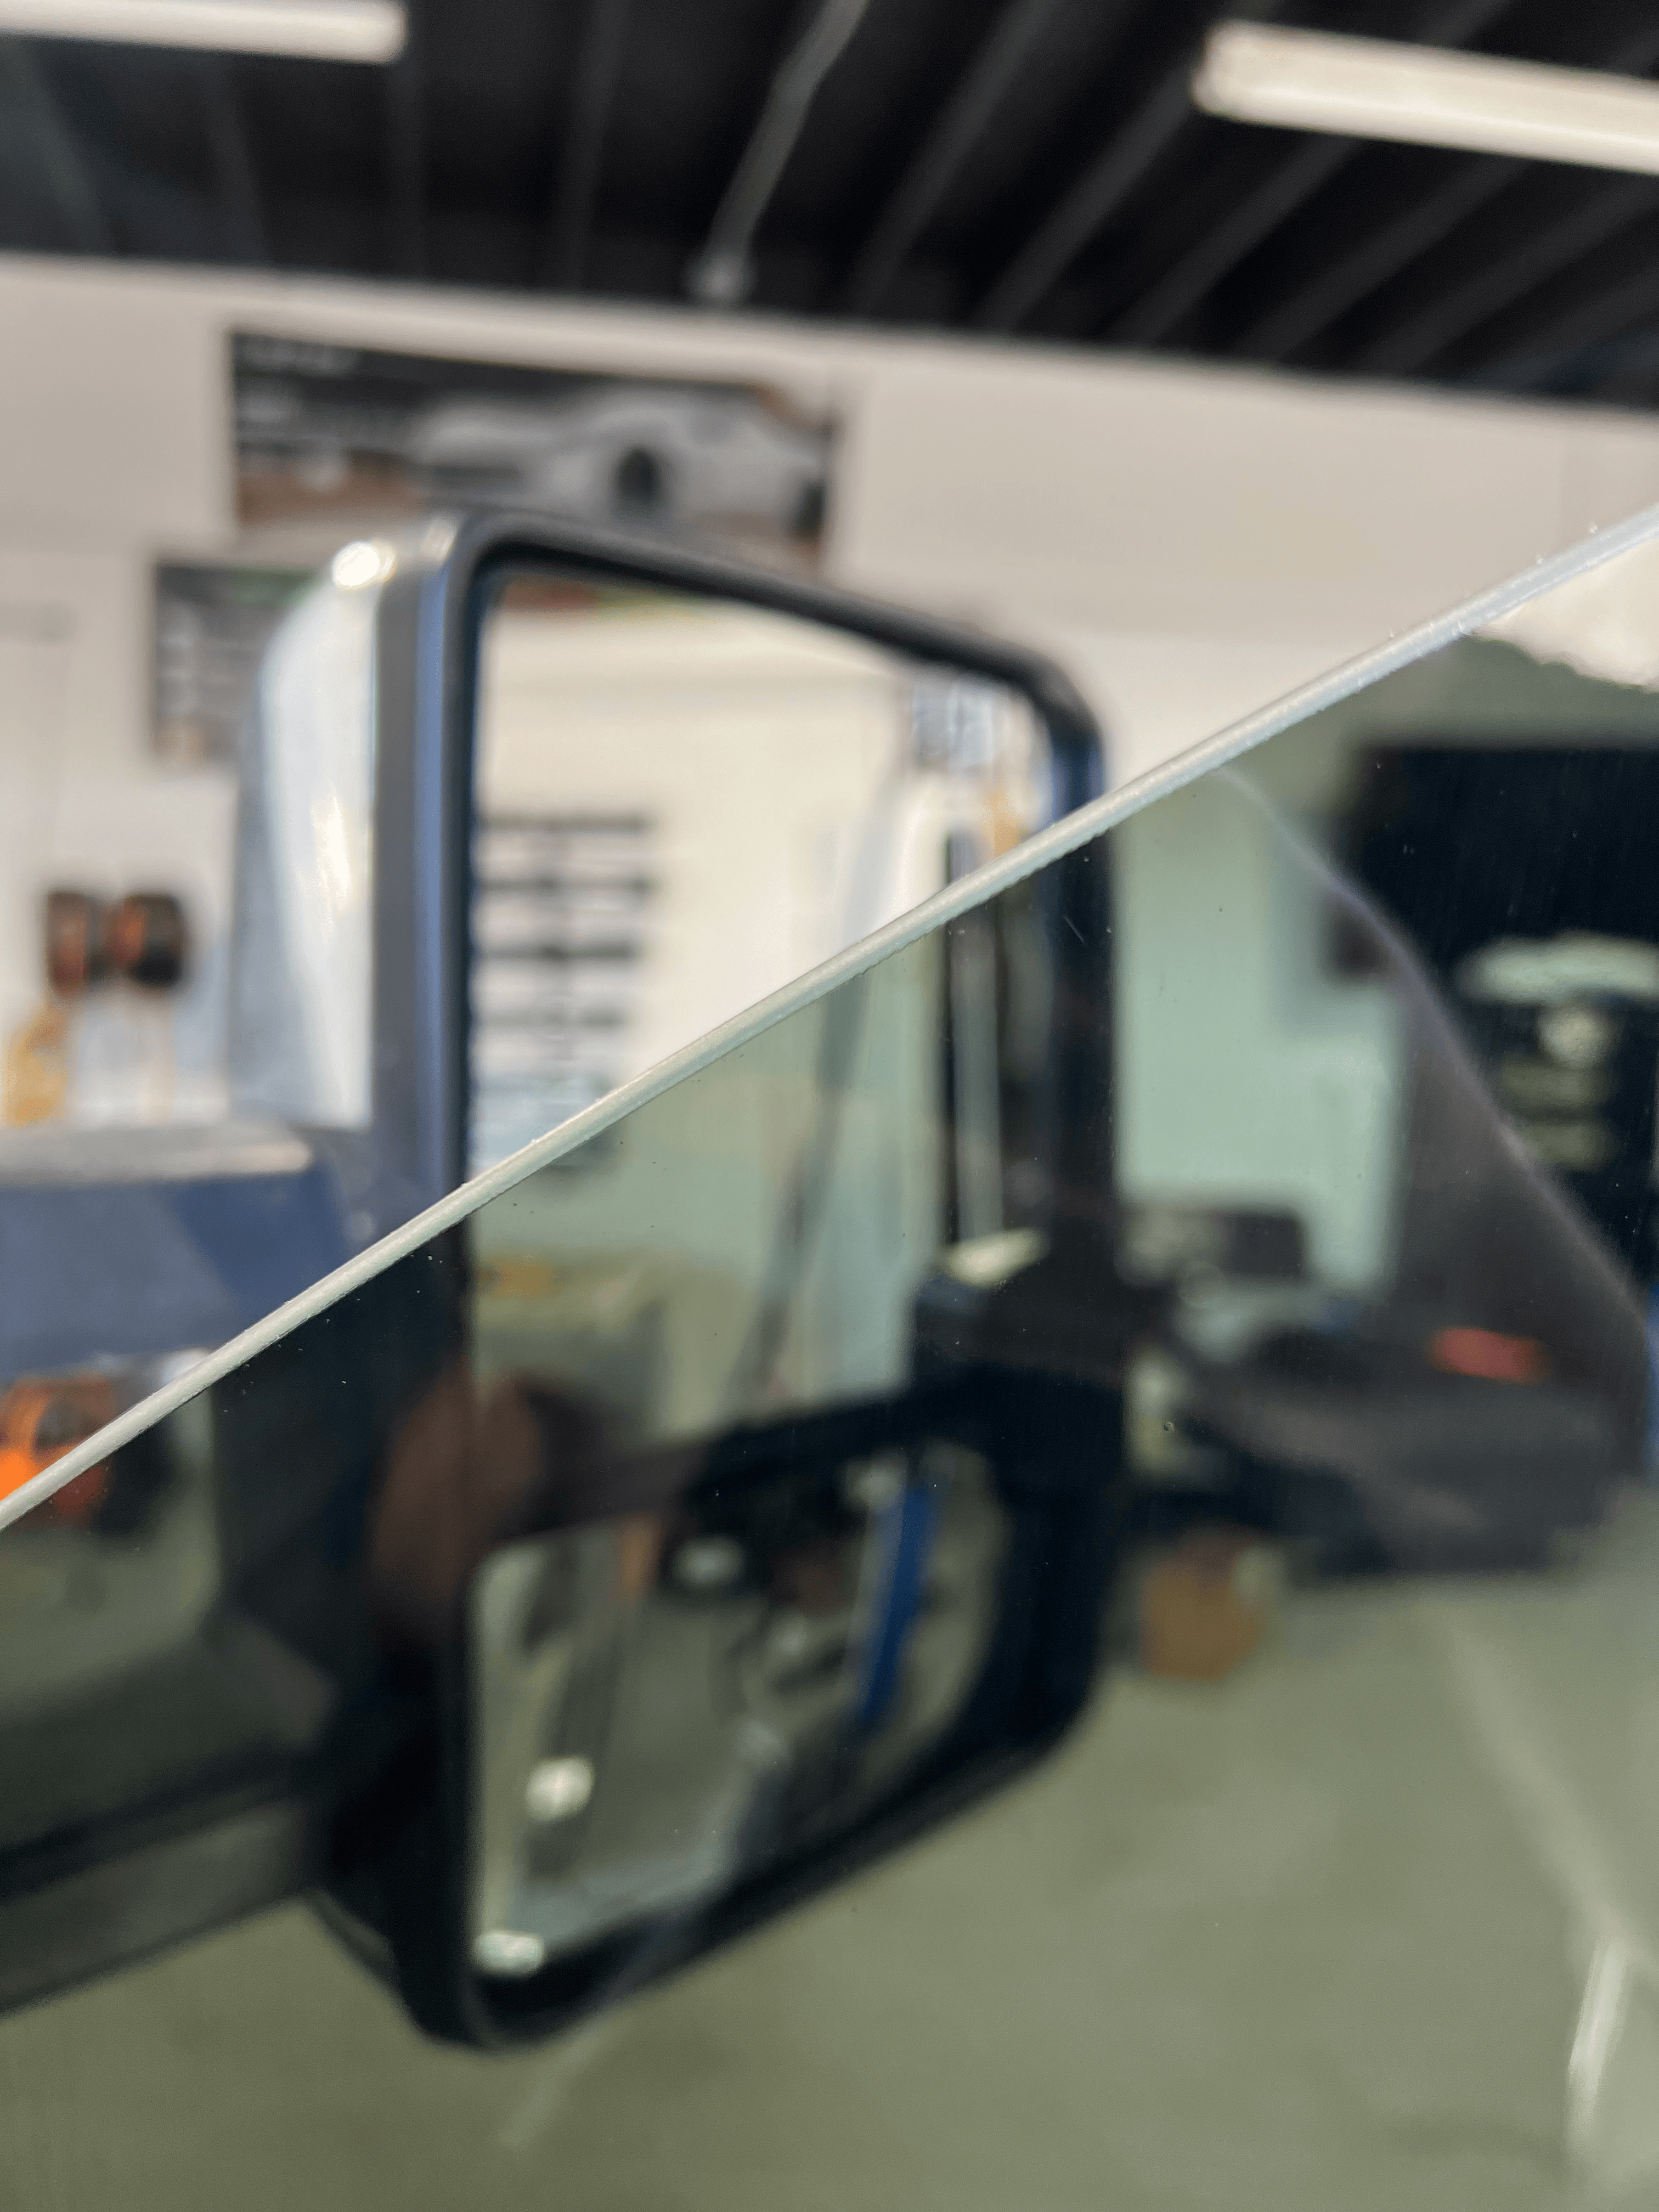
3. Hazy or Blurry Appearance
A tint that appears hazy, foggy, or blurry is a major red flag.
Causes: Dust or moisture trapped under the film, low-quality material, or improper curing.
Impact: Compromises visibility and driver safety, particularly at night.
Resolution: Proper drying time, cleaning before installation, or reinstallation with high-quality films can correct this.
4. Uneven Tinting or Streaks
A high-quality tint should look uniform across the entire window.
Signs of a bad tint job:
Dark or light patches
Visible streaks from squeegee errors
Causes: Uneven application, poor-quality film, or improper tools.
Solution: Smooth out minor streaks with a felt-edge squeegee; replace film if color inconsistency is extreme.
5. Discoloration (Purple or Bronze Tint)
Over time, low-quality dye-based tints can turn purple or bronze.
Causes: Cheap film or UV degradation.
Impact: Reduces visual appeal and can indicate a bad tint job.
Recommendation: Invest in premium ceramic, carbon, or hybrid films, which maintain color for 5–10 years.
6. Dust or Debris Trapped Under Film
Even professional installations aren’t completely dust-free, but excessive trapped debris is a major sign of a bad tint job.
Causes: Dirty installation environment, poor preparation, or rushing the process.
Impact: Creates bumps or imperfections that reduce clarity and adhesive performance.
DIY tip: Inspect windows in natural daylight before installation; keep the workspace clean and use a lint-free cloth to prep the glass.
7. Crooked or Uneven Edges
Edges should be straight and flush with the window frame.
Signs of poor installation:
Misaligned film
Gaps along the edges
Causes: Improper cutting, lack of precision, or inexperienced installers.
Solution: Minor adjustments can be made with a precision cutter, but large misalignment usually requires a reinstallation.
8. Interference with Electronics
Some metallic films can interfere with Bluetooth, GPS, radio, or toll transponders.
Sign: Electronics weaken after tint installation.
Cause: Metallic particles in low-quality or incorrectly applied films.
Solution: Use ceramic or non-metallic hybrid films that reject heat and UV without blocking signals.
9. Failure to Meet Legal Tint Regulations
Even a professionally installed tint can be “bad” if it violates local laws.
Legal issues:
Massachusetts requires at least 35% VLT for front side windows.
Windshields may only have a top-tinted strip above the AS-1 line.
Consequence: Fines, failed inspection, or police stops.
Tip: Always verify your state’s VLT limits before choosing darkness levels.
10. Short Film Lifespan
If your tint starts peeling, bubbling, or fading within months, it’s a clear indicator of a bad tint job.
Causes:
Low-quality film
Improper installation or adhesive curing
Exposure to extreme weather without proper prep
Prevention: Choose premium films from reputable brands and ensure proper installation conditions (65–85°F, 30–55% humidity).
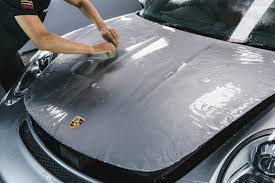
How to Avoid a Bad Tint Job
Preventing a bad tint job starts with preparation and careful selection of materials and tools. Here are key tips:
Choose Quality Film: Ceramic, carbon, or hybrid tints last longer, resist fading, and maintain clarity.
Work in a Controlled Environment: Avoid high humidity, extreme temperatures, or dusty areas.
Use the Right Tools: Squeegees, precision cutters, and slip solutions make installation smoother and reduce errors.
Follow Manufacturer Instructions: Adhesive curing time, squeegee technique, and cleaning steps are critical.
Consider Professional Installation: When in doubt, premium shops like Cloud 9 Tint Studio or Viper Wrap Studio & Car Detailing offer expertise and warranties.
DIY vs. Professional Tinting
DIY Tint Kits: Ideal for first-timers or budget-conscious users. Modern kits often include pre-cut film, squeegees, application solution, and instructions. Benefits include learning a new skill and saving money. Downsides: mistakes can lead to a bad tint job, especially on curved rear windows.
Professional Installation: Ensures precise application, premium film use, and warranties. Even minor imperfections are minimized. Recommended for high-end vehicles or drivers in strict legal regions.
How to Fix a Bad Tint Job
Depending on the severity of the issues, solutions include:
Small Bubbles: Use heat and a squeegee, or puncture tiny bubbles with a fine needle.
Peeling Edges: Reapply adhesive or soapy water, smooth with a squeegee, and trim excess.
Severe Discoloration or Crooked Film: Remove and reinstall high-quality film.
Persistent Haze: Ensure proper drying, cleaning, and curing; professional reinstallation may be necessary.
Signs of a Job Well Done
Even after spotting the common red flags above, here’s what a high-quality tint job should look like:
Smooth surface with no bubbles or air pockets after curing
Firmly sealed edges
Clear, uniform color with no haze or streaks
No interference with electronics
Compliance with all state VLT regulations
Investing in high-quality film and careful installation, whether DIY or professional, ensures a safer, more comfortable driving experience with lasting results.
Conclusion
A bad tint job is more than just an eyesore; it can compromise safety, comfort, and legality. By understanding the top 10 signs of poor installation, car owners can inspect their windows, address minor issues, or seek professional correction. Whether you’re using a DIY kit or a professional service, attention to detail, high-quality materials, and patience are key to a flawless finish.
Next time you look at your car’s tinted windows, check for bubbles, peeling edges, haze, discoloration, and unevenness. Correcting a bad tint job early not only saves money but also ensures that your investment in comfort, privacy, and UV protection lasts for years to come.